
Enterprise Runner as Windows Service
Enterprise Runner as Windows Service
Hosting the Enterprise Runner as a service offers several key advantages. First and foremost, it ensures the reliability and availability of your automation processes. By transforming Enterprise Runner into a Windows service, it becomes a persistent, background application that starts automatically with the system, even if no user is logged in. This not only enhances system resilience but also facilitates unattended operation, allowing your automated tasks to execute without human intervention.
This guide will walk through the process of installing the Enterprise Runner as a Windows service through two methods:
Both methods ensure that users can leverage the full potential of this essential component of the Runbook Automation platform.
Enterprise Runner Installation for Runbook Automation Self-Hosted
Note
Skip this section if you have already installed an Enterprise Runner on a Windows host.
Stop the Runbook Automation server instance service.
Edit the
rundeck-config.propertiesfile and add the following line:
rundeck.feature.runner.enabled = true
This line enables the Enterprise Runner functionality on Runbook Automation Self-Hosted. Runbook Automation SaaS includes this feature out of the box.
Check the grails.serverURL property on the rundeck-config.properties file (must be configured with the external Runbook Automation URL/IP, e.g. grails.serverURL=http://my_rundeck_server:4440) to ensure that your Runbook Automation instance is accessible by the remote node.
Also, set the server.address parameter to receive connections from any network location; for testing purposes, set it to server.address=0.0.0.0 (to receive connections from any LAN node).
Save the file and start the Runbook Automation Instance.
Log in and then, create a new test project called ProjectRUNNER.
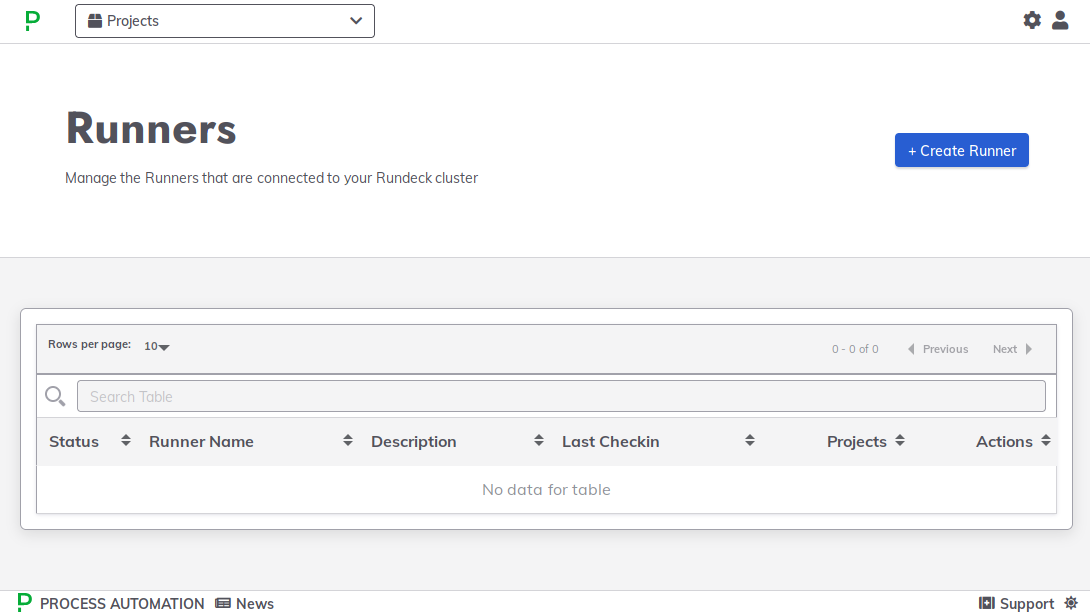
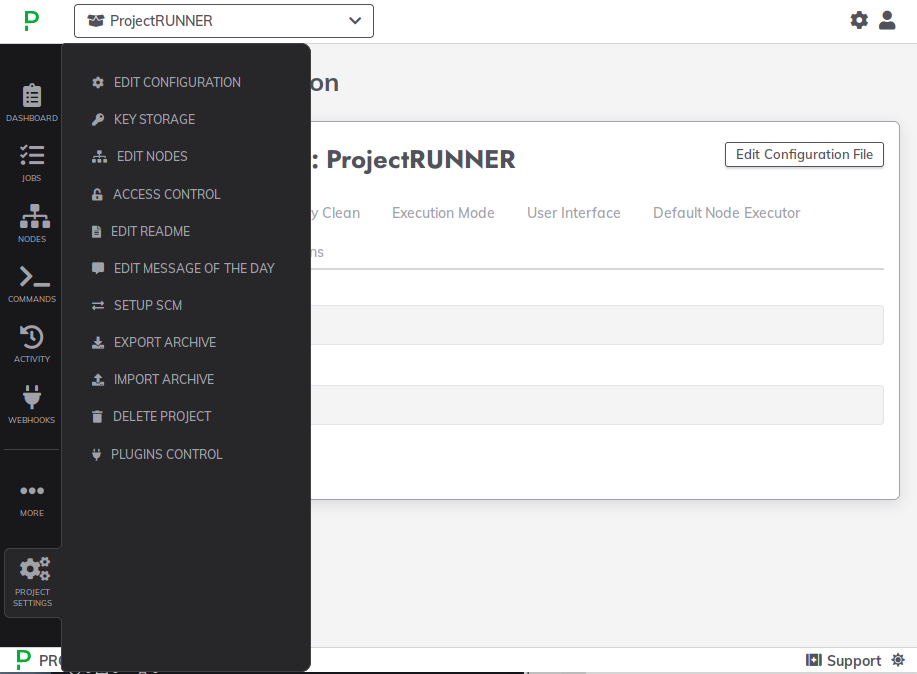
Click on the Gear Icon (up to right) and then on the "Runner Management" link.
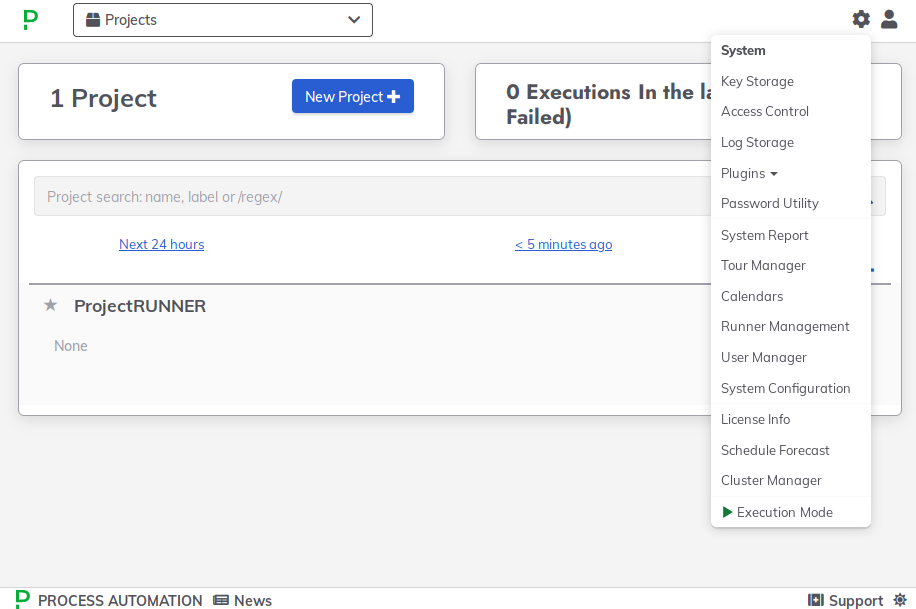
- Click on "+ Create Runner" button.
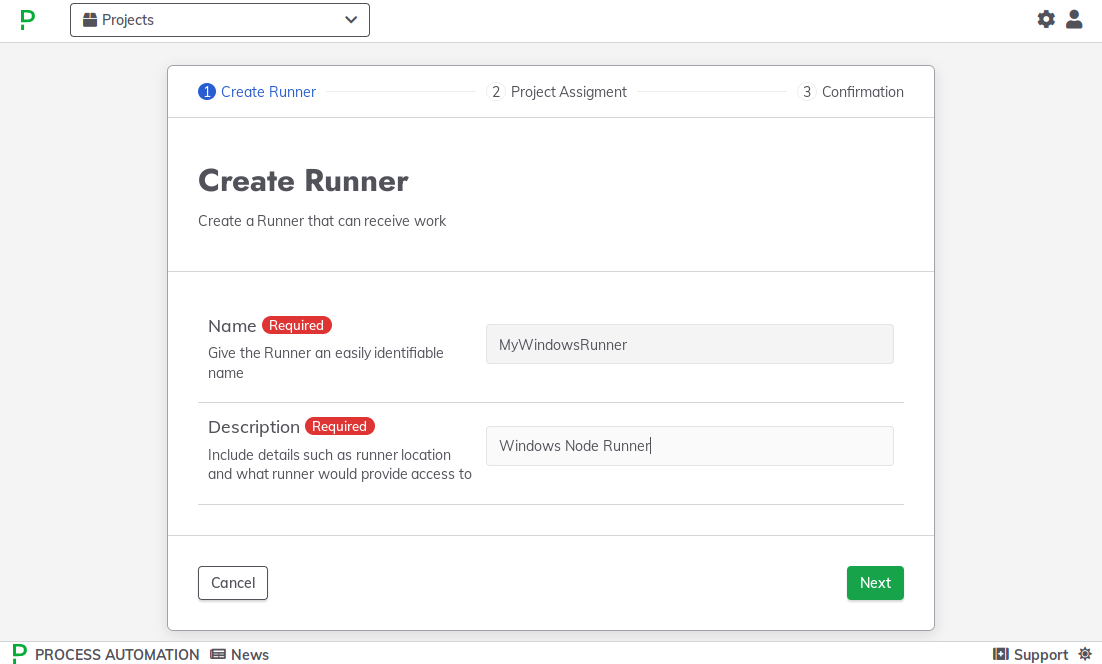
- Give it a name and an optional description, then click the "Next" button.
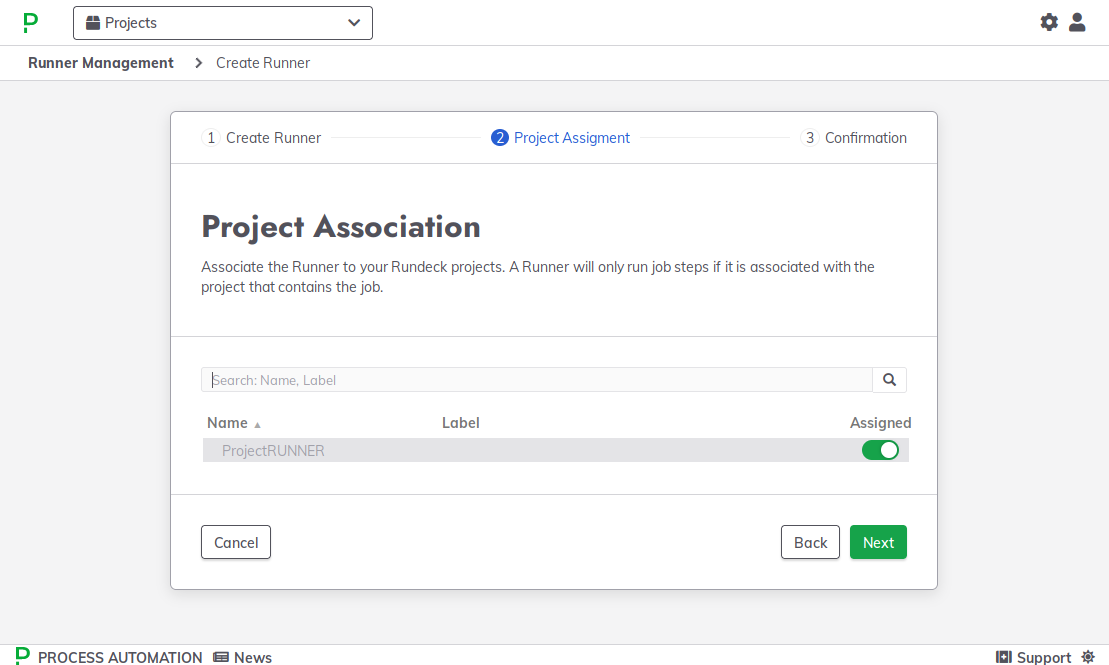
- Click the switch to associate the Enterprise Runner with a "ProjectRUNNER" created in step 4. Click the "Next" button.
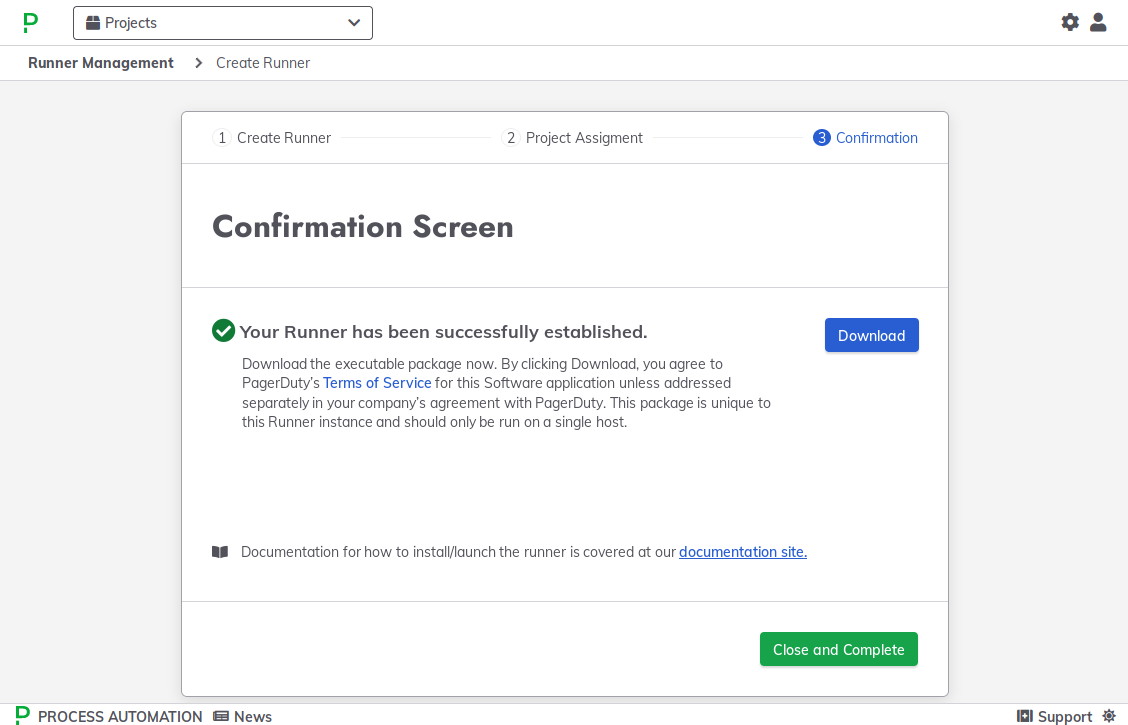
- Click the "Download" button to get the Enterprise Runner
.jarfile, this file must be run on the Windows host. Click the "Close and Complete" button.
- Now go to Project Settings > Edit Nodes.
- On the Local model source, click the "Edit" button.
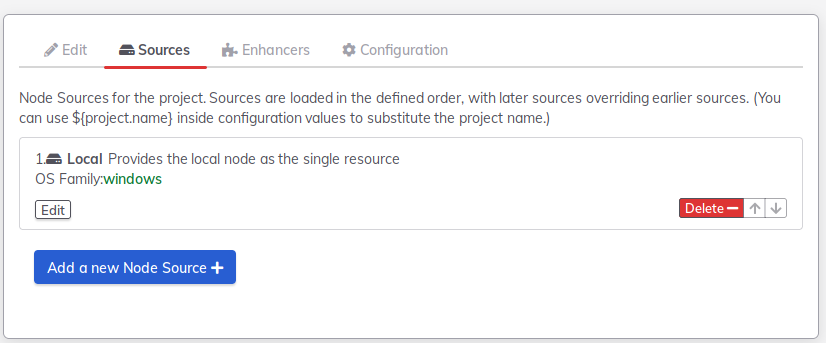
- Scroll down and put "windows" on the "OS Family" field, then save.

The runner was configured on our Project, now, let's test the runner from the Windows machine.
Preparing and Testing the Enterprise Runner on the Windows Host
Before configuring the Enterprise Runner as a service, a good starting point could be to test the connection between the Enterprise Runner and the Runbook Automation instance. To do so, check the following steps:
Review the Enterprise Runner requirements, the major need being Java 17 JRE and the
JAVA_HOMEenvironment variable configured.Make a new folder, such as
C:\runner\in this example.Place the
.jarfile created in the previous section in the folderC:\runner\.Rename the file as
runner.jar.Now, open a Powershell terminal and manually start the Enterprise Runner to test connectivity:
java -jar runner.jar. You must see the message Runner started. Version: 0.1.52. The Enterprise Runner is running and listening.Back to the Rundeck instance web interface.
Go to your project, select the Gear Icon (up to right), and then the "Runner Management" link.
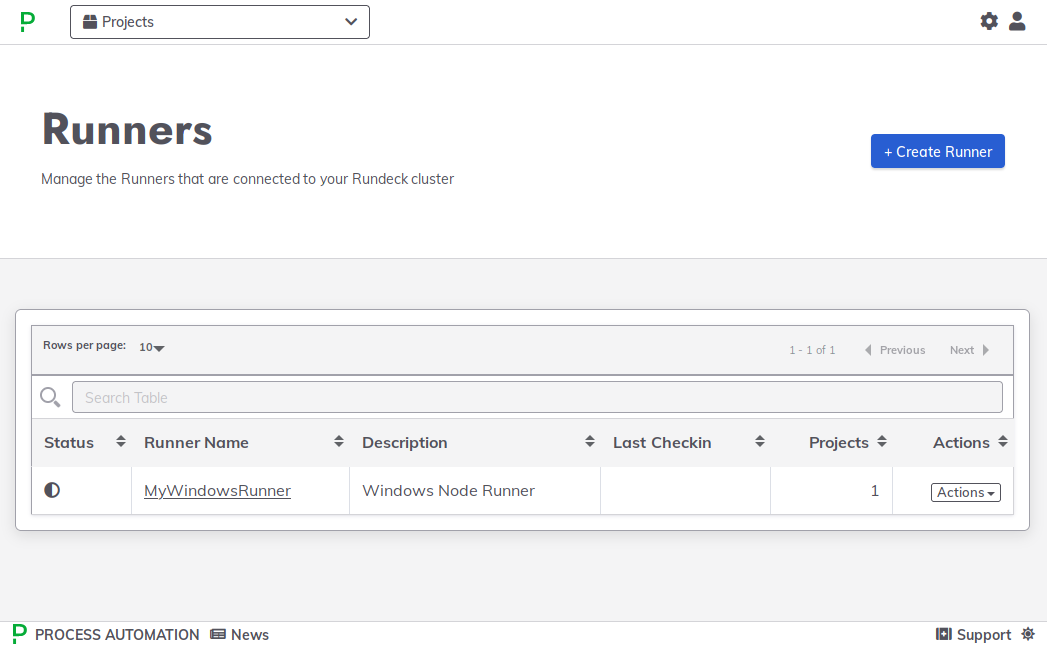
- When you see your Enterprise Runner created in the previous section, click the "Actions" button and select "Ping".
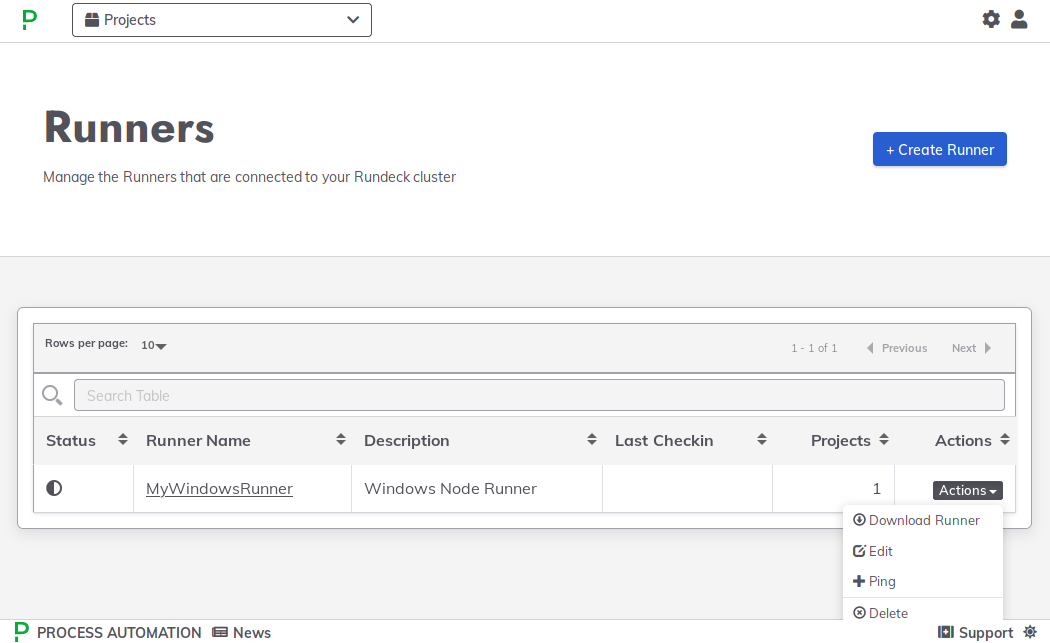
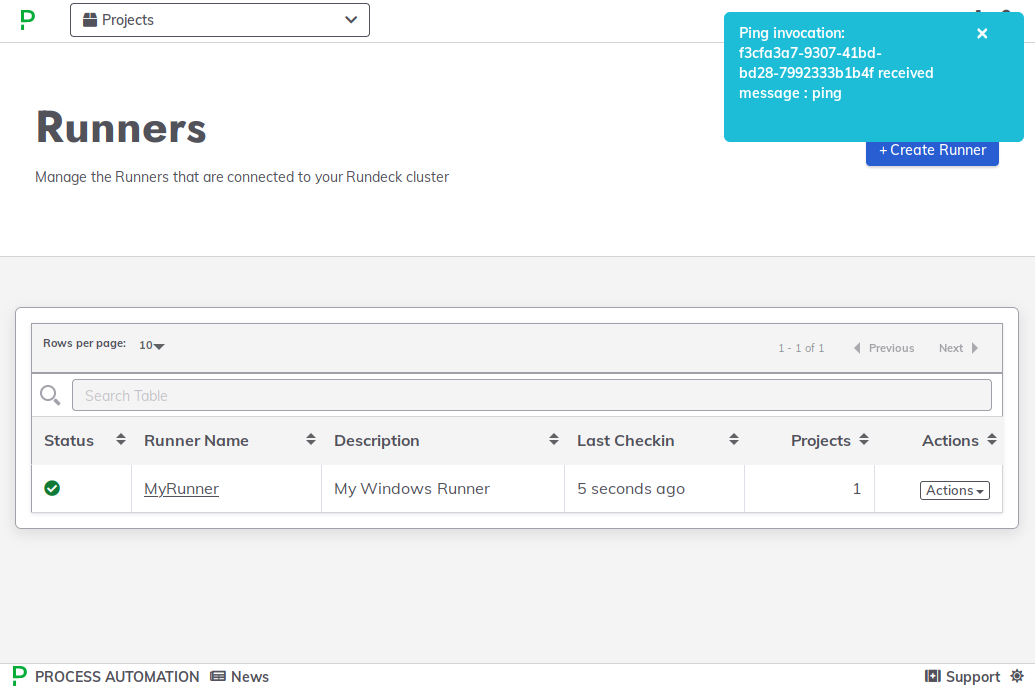
- You will see the ping response at the top of the screen, this means the connectivity between Runbook Automation instance and Enterprise Runner is OK.
- Back to the Windows remote node and stop the Enterprise Runner with the following key combination:
Ctrl+Con the CMD terminal.
Now let's see two ways of installing Enterprise Runner as a service.
Installing the Enterprise Runner service through Apache Commons Daemon
Apache Commons Daemon, often referred to simply as Commons Daemon, is a set of Java libraries and utilities provided by the Apache Software Foundation. Its primary purpose is to facilitate the development of cross-platform Java applications that can be run as background services or daemons on various operating systems, including Windows.
To register the Enterprise Runner as a service, check the following steps:
Download Apache Commons Daemons binaries from this location.
Uncompress the file and copy the
prunmgr.exeandprunsrv.exefiles to theC:\runner\folder.Use the 64-bit binary on a 64-bit JDK/JRE
On a 64-bit system running a 64-bit JDK/JRE, use the 64-bit
prunsrv.exelocated in theamd64\subfolder of the uncompressed archive — not the 32-bitprunsrv.exein the root of the archive. (prunmgr.exe, the GUI monitor, is 32-bit only — that is expected and fine.)Rename the
prunsrv.exeasrunner.exe, andprunmgr.exeasrunnerw.exe.Architecture mismatch
If a 32-bit
runner.exeis used with a 64-bit JRE/JDK, it cannot load the 64-bitjvm.dll, and the service will fail to start or stop with the error%1 is not a valid Win32 application. You can confirm which architecture is in use by checkingcommons-daemon.log: the startup line should readprocrun (1.x.x.x 64-bit) started.Create a stop script named
stop-runner.batin theC:\runner\folder with the content below. This script stops only the Runner process that the service started — it reads the PID that procrun writes torunner.pid— instead of killing everyjava.exeprocess on the host:
@echo off
setlocal
set "PIDFILE=C:\runner\runner.pid"
if not exist "%PIDFILE%" exit /b 0
set /p PID=<"%PIDFILE%"
if "%PID%"=="" exit /b 0
taskkill /F /FI "PID eq %PID%" /FI "IMAGENAME eq java.exe"
endlocal
Open a new CMD terminal with Administrative rights.
Go to the
C:\runner\folder.Execute the following command (you can copy and paste it directly on the CMD terminal to execute it):
java mode)runner.exe //IS//Runner ^
--DisplayName=Runner ^
--LogLevel=Info ^
--LogPath=C:\runner ^
--ServiceUser=LocalSystem ^
--Startup=auto ^
--Jvm=auto ^
--StartMode=java ^
--StartPath=C:\runner ^
--StartParams=-jar#runner.jar ^
--StopMode=exe ^
--StopImage=C:\Windows\System32\cmd.exe ^
--StopParams=/c#C:\runner\stop-runner.bat ^
--StopPath=C:\runner ^
--StopTimeout=30 ^
--PidFile=runner.pid ^
--JvmMs=1024 ^
--JvmMx=4096 ^
--StdOutput=C:\runner\runner.log ^
--StdError=C:\runner\runner.log
Note
The service name uses a double slash (//IS//runner) — this is the procrun syntax for "install service". --Jvm=auto lets procrun locate jvm.dll automatically from JAVA_HOME / the registry. The stop is delegated to stop-runner.bat through cmd.exe; the full path to cmd.exe is required because procrun passes --StopImage directly to CreateProcess, which does not search the PATH (a bare cmd fails with The system cannot find the file specified).
jvm mode)With --StartMode=java, procrun launches the Runner as a separate java.exe process and does not pipe that process's output into --StdOutput/--StdError, so runner.log can stay empty. Use this jvm-mode variant instead: procrun loads the JVM in-process and captures the Runner's System.out/System.err directly into the log file.
runner.exe //IS//Runner ^
 --DisplayName=Runner ^
 --LogLevel=Info ^
 --LogPath=C:\runner ^
 --ServiceUser=LocalSystem ^
 --Startup=auto ^
 --Jvm="<JAVA_INSTALL_PATH>\bin\server\jvm.dll" ^
 --StartMode=jvm ^
 --Classpath=C:\runner\runner.jar ^
 --StartClass=com.rundeck.runner.agent.RunnerApplication ^
 --StartMethod=main ^
 --StartPath=C:\runner ^
 --StopMode=exe ^
 --StopImage=C:\Windows\System32\cmd.exe ^
 --StopParams=/c#C:\runner\stop-runner.bat ^
 --StopPath=C:\runner ^
 --StopTimeout=30 ^
 --PidFile=runner.pid ^
 --JvmMs=1024 ^
 --JvmMx=4096 ^
 --StdOutput=C:\runner\runner.log ^
 --StdError=C:\runner\runner.log
Set --Jvm to your real jvm.dll path
In jvm mode, --Jvm=auto often fails with no JVM configured or found in registry (many JDK/JRE builds don't register in the Windows registry, and the LocalSystem account doesn't see a user-level JAVA_HOME). Replace <JAVA_INSTALL_PATH> with your Java installation directory (the same path as JAVA_HOME).
Note that jvm mode replaces --StartMode=java/--StartParams=-jar#runner.jar with --StartMode=jvm, --Classpath (the path to runner.jar) and --StartClass (the Runner main class). The runner.exe (procrun) and the jvm.dll must be the same architecture (use the 64-bit prunsrv.exe from amd64\ with a 64-bit JRE/JDK).
You will see messages similar to the following:
[2023-10-04 13:12:51] [info]  ( prunsrv.c:2018) [ 5164] Apache Commons Daemon procrun (1.5.1.0 64-bit) started.
[2023-10-04 13:12:51] [debug] ( prunsrv.c:774 ) [ 5164] Installing service...
[2023-10-04 13:12:51] [info]  ( prunsrv.c:831 ) [ 5164] Installing service 'runner' name 'Runner'.
[2023-10-04 13:12:51] [debug] ( prunsrv.c:865 ) [ 5164] Setting service user 'LocalSystem'.
[2023-10-04 13:12:51] [info]  ( prunsrv.c:882 ) [ 5164] Service 'runner' installed.
[2023-10-04 13:12:51] [info]  ( prunsrv.c:2102) [ 5164] Apache Commons Daemon procrun finished.
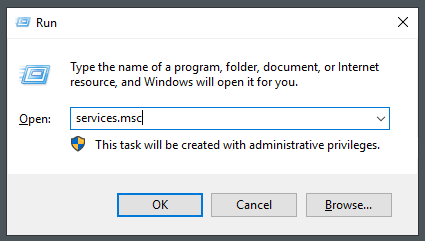
Now press the Windows key + R key combination, then type
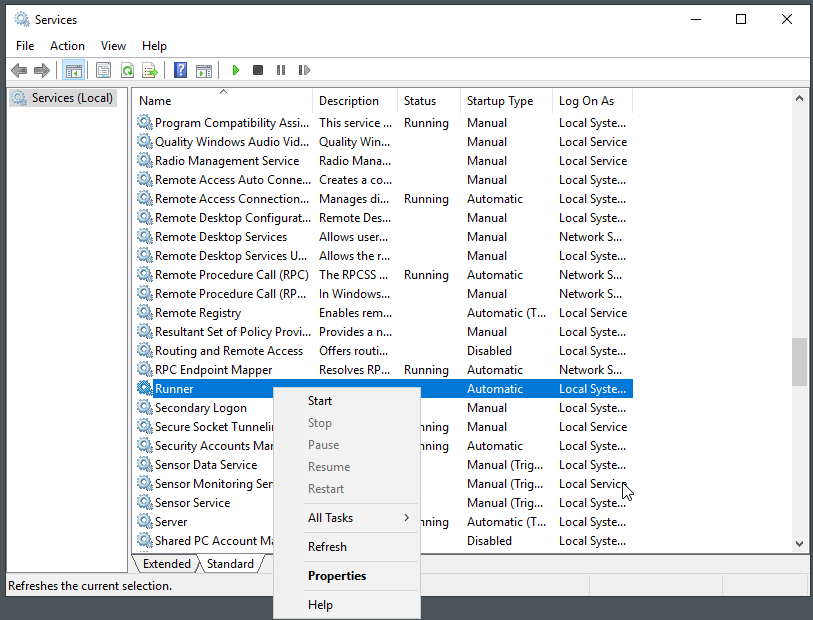
services.mscand press the Enter key.Scroll down the Service list and locate the "Runner" service.
- Click the right button and select "Start", after a couple of seconds, the service must be shown as "Running" status.
Note
If you install the service at --LogLevel=Debug, the stop sequence may log repeated conhost.exe ... Still here! lines for a few seconds while procrun tears down the console host of the spawned java.exe process. This is cosmetic — the service still reaches the Stopped state. Running at --LogLevel=Info (as shown above) keeps the log clean. Note that the Runner's own application logs are written under C:\runner\runner\logs\, separate from the procrun --StdOutput/--StdError file.
How to remove the service
To stop and remove the Enterprise Runner service check the following steps:
Open a new CMD terminal with Administrative rights.
Go to the
C:\runner\folder.Execute
runner.exe //DS//Runner. This process could take around 30 seconds.
Now, the service is down and unregistered from Windows Services.
An alternative way: Installing the Enterprise Runner service through NSSM
NSSM is a program used to register and manage services in Windows. It provides a user-friendly interface for creating and configuring Windows services without the need for complex command-line instructions. NSSM is particularly useful for running applications or scripts as services, ensuring that they start automatically with Windows, and can run in the background without user interaction. NSSM simplifies the process of working with Windows services, making it accessible for both experienced administrators and users who may not be familiar with the intricacies of service management on Windows.
NOTE: NSSM is an inactive project, the last build was released in 2014.
Download NSSM from this link.
Uncompress the
.zipfile.Open a new PowerShell terminal with Administrator rights and go to the uncompressed NSSM folder.
Execute
./nssm.exe install "Runner". A new window will appear.
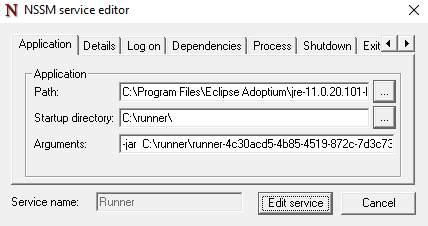
On the "Path" field put the Java 17 JRE binary path (including the
java.exeat the end).On the "Startup directory" put the Enterprise Runner folder, e.g.
C:\runner\.On the Arguments field put
-jar runner.jar, then click on the "Install service" button.Now press the
Windows key + Rkey combination, typeservices.msc, and press theEnterkey.Scroll down the Service list and locate the "Runner" service.
Click the right button and select "Start", after a couple of seconds, the service must be shown as "Running" status.
How to remove the service
Open a new PowerShell terminal with Administrator rights and go to the uncompressed NSSM folder.
Stop the service with the following command:
nssm stop "Runner".Then, remove the service with the
nssm remove "Runner" confirmcommand.
The service is down and unregistered from Windows Services.
Resources
Enterprise Runner
Apache Commons Daemon Documentation
NSSM Documentation