
Guided Tour Manager (Commercial)
Guided Tour Manager (Commercial)
Available in PagerDuty Runbook Automation Commercial products.
Overview
Rundeck Guided Tours provide interactive walk-throughs to end users to help demonstrate Rundeck processes. They can be used to help first time users get familiar with the system, or provide step-by-step instructions for how to execute complicated processes. Managed in product with a new UI manager tour definitions can be configured as System Tours and are available to all projects or Project Tours and tied to that individual project. Tours are stored in the Rundeck database so they are easily shared to all members in clustered environments.
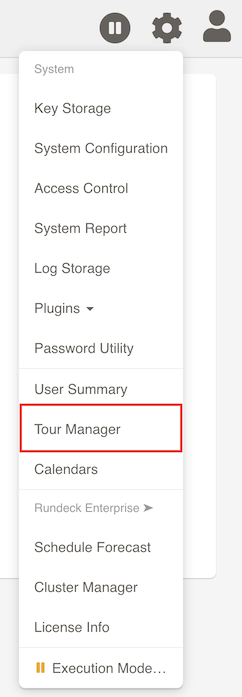
The System level Tour Manager can be found under the Settings menu:
Project level Tour Manager can be found within a Project using this menu choice:

Creating a Guided Tour
The first time you visit the Tour Manager a dialog box will ask you to provide a [System/Project] Tour Group Name.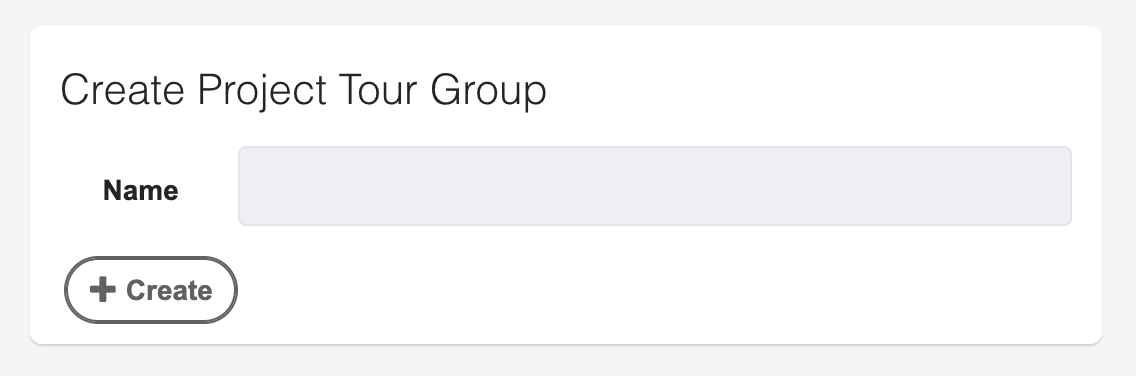
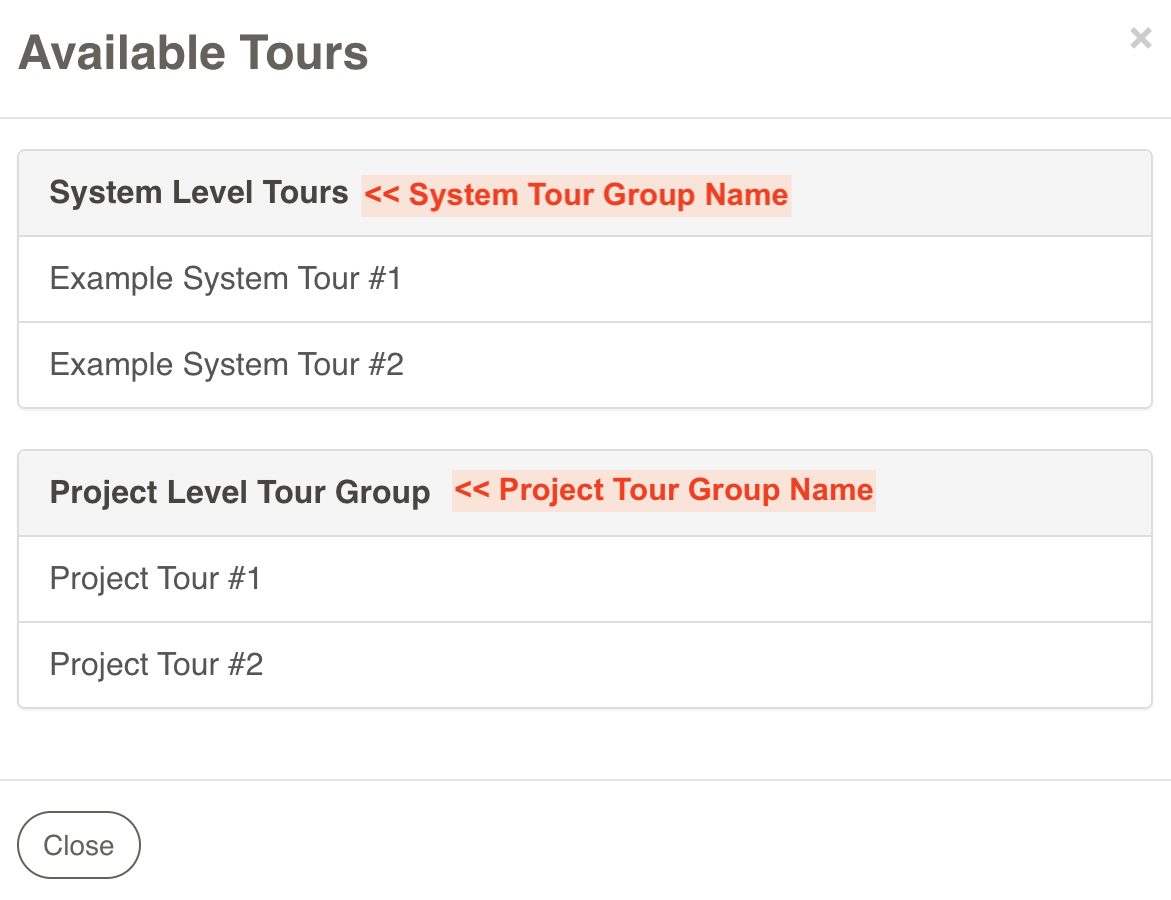
This value is used as shown in the screenshot below.
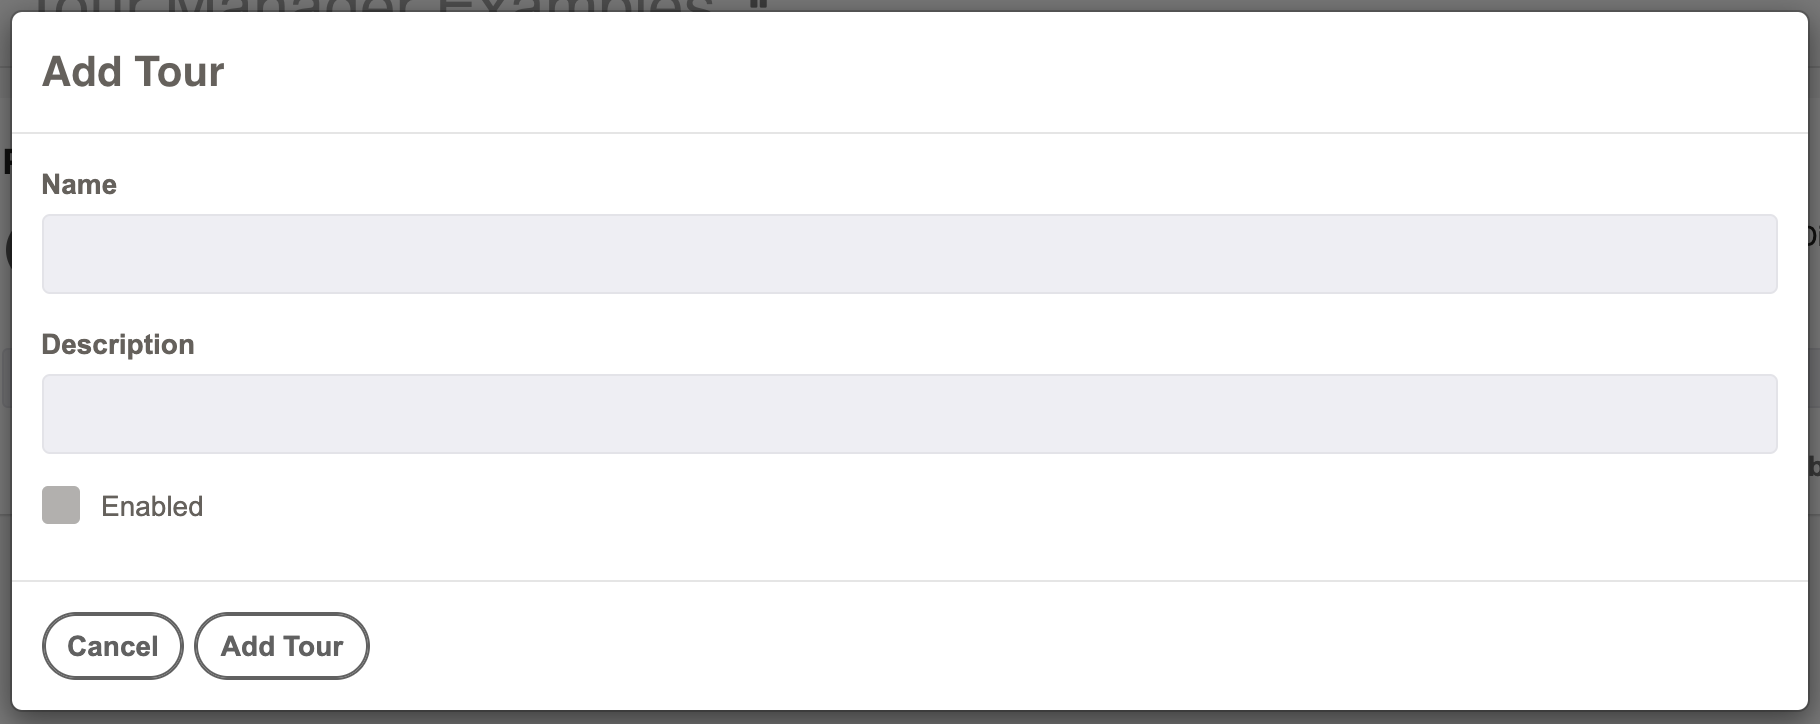
After creating the Group Name this dialog will be presented to start creating tours.
Click Add Tour
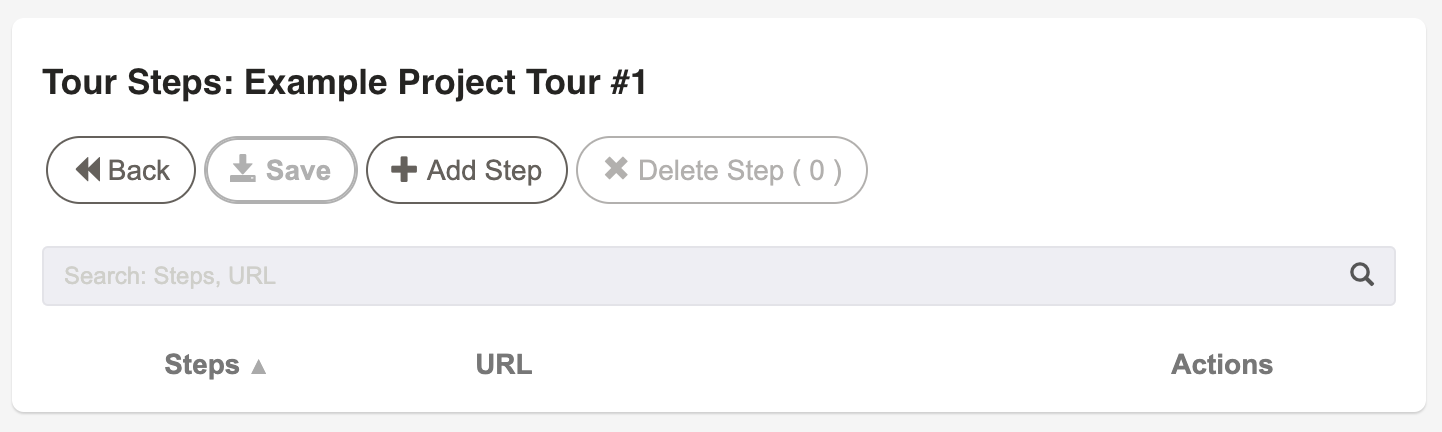
Click the tour name then choose Add Step
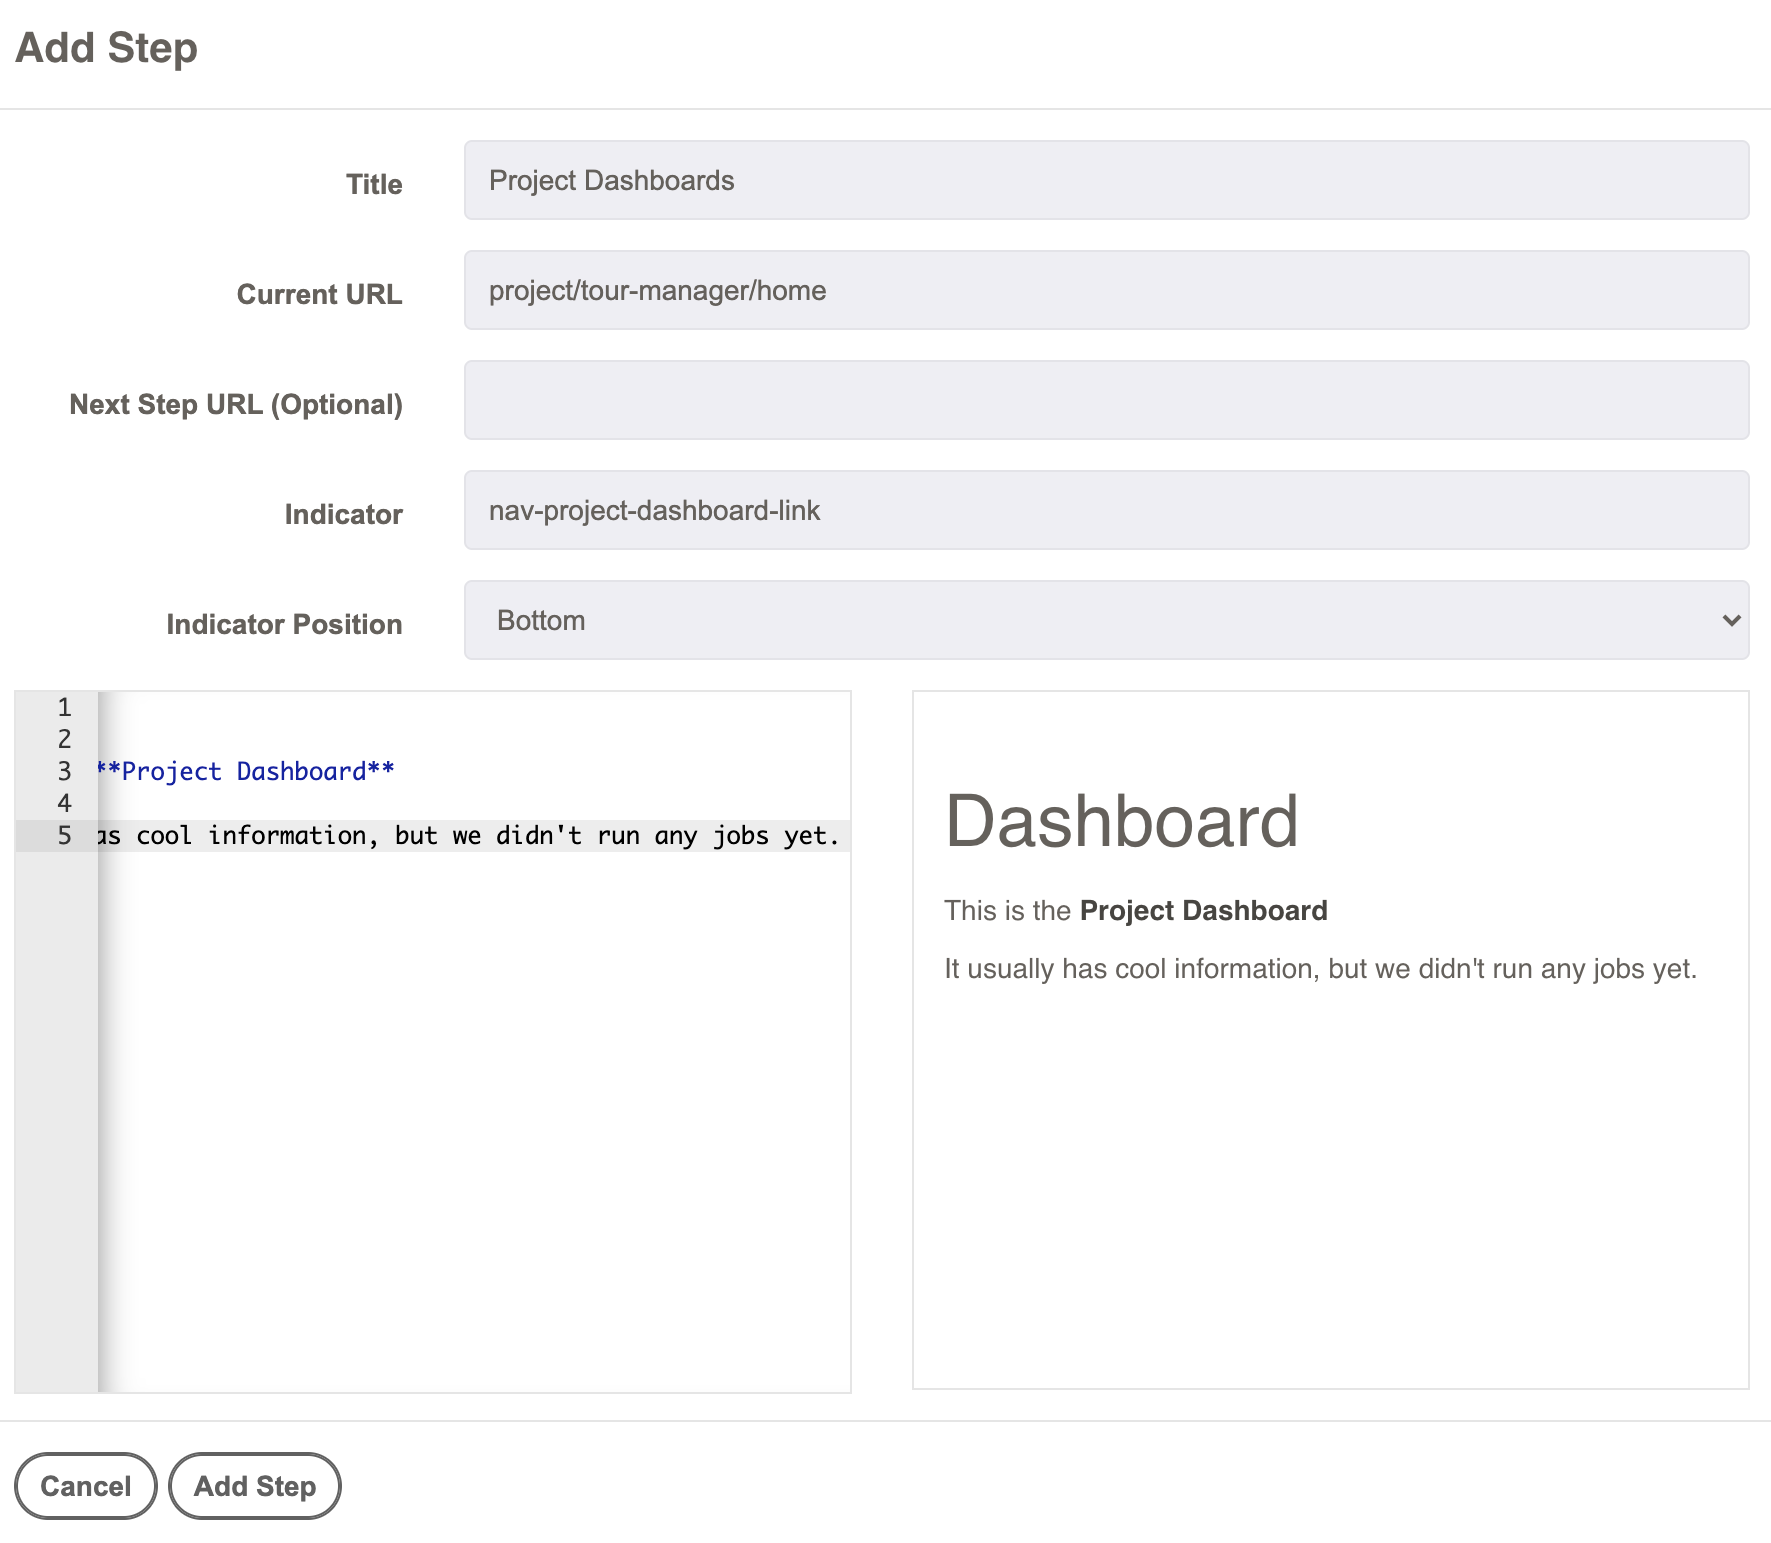
Fill out the Add Step details for this step:
- Title: Serves as the Name of that particular step. The value is not shown in the display.
- Current URL: This value can be a relative url from the root of your Rundeck server, or a
- Next Step URL (optional): This is included to support previous versions of http-tours. (See Details below)
- Indicator: To draw attention to somewhere a user should click the Indicator can be set to an HTML tag
idvalue. - Indicator Position: Allows the choice of showing the indicator on the top/bottom/right of the selected tag entry from above. (ignored if Indicator is empty)
- Editor and Preview Windows: Use the left editor to write a description or details to be shown for this step in Markdown syntax. A preview will be shown in the window on the right.
Continue to Add steps until you are ready to share your tours. Then click Save button to save the tour.
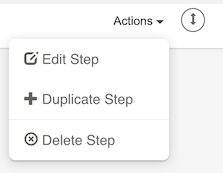
Steps can be re-ordered using the up/down arrow next to the Actions Menu.
Using Guided Tours
Tours can be enabled/disabled using the Toggle button at the top of the Tour Group.


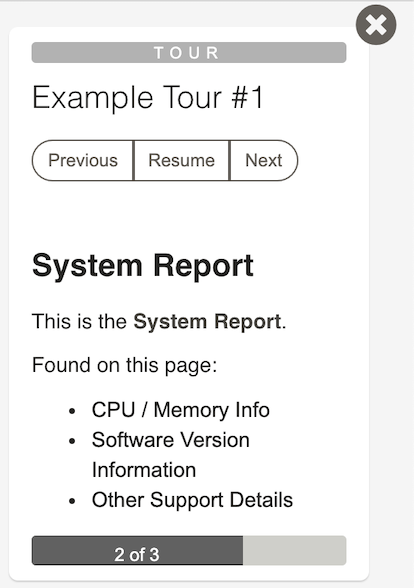
Click the [TOURS] icon in the header navigation and the tours list window will be displayed.
After selecting the Tour to use a dialog on the right will be displayed. Use the Previous/Next buttons to navigate through the tour. The Resume button will return the browser to the Current URL setting specified for that step.
Import / Export Tours
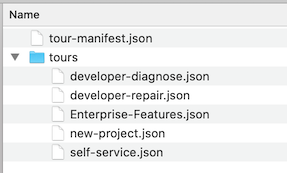
There are options to export and import tours. The export will be a zip file containing a tour manifest file and the tour definitions.
If you have tours from a previous release you can build your own zip files for import. The structure shown below is what the import process is expecting:
For more information on importing previously created tours please reach out to our Enterprise Support team.
Appendix
Current vs. Next URL
In previous versions of the http-tours plugin the URL functionality was provided with the nextStepUrl identifier. Based on feedback pointing to the "next" url was confusing and created a challenge when reordering steps. With Current URL if a step is moved to a different step in the Tour ordering the url will follow with that step and place the user in the right spot for the tour content.
When both values are set the Next Step URL will be processed first when the Next button is pressed, then the Current Url of the next step will be processed. Below is an example scenario.
Step 1
- Title: My First Step
- Curent URL: /home
- Next Step URL: /step2a
Step 2
- Title: My Second Step
- Current URL: /step2b
- Next Step URL: /step3
When the tour is first loaded the browser will be taken to the '/home' link. When the user clicks Next to advance to the next step of the tour it will briefly flash '/step2a' but once Step 2 is loaded will end at '/step2b' since the Current URL is loaded later. '/step3' would be loaded when the user clicks Next from Step 2.
The Resume Button will return the user to value stored in the Current URL for the currently loaded step.