ACL Policy GUI
ACL Policy GUI
Available in PagerDuty Runbook Automation Commercial products.
For basic instructions on how to get started with Rundeck ACL Policies, check out this Basic ACL Tutorial. Or check out the video below:
For examples and use case specific implementations check out the ACL Examples section of the How To articles.
Access Control Pages
You can manage ACL Policy files within the Rundeck GUI, at both System and Project contexts (also referred to as scopes).
- System > Access Control
This page manages System context ACL Policies.
Click the System Gear icon in the navigation header, and choose "Access Control"
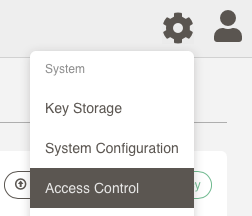
System Access Control Menu - Project Settings > Access Control
This page manages Project context ACL Policies
Select a Project. In the Project menu sidebar, expand "Project Settings", click "Access Control"
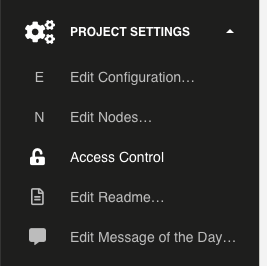
Project Access Control Menu
Listing ACL Policies
In the Access Control pages, you can view the list of ACL Policies in use. You can Upload or Create new policies here.
They are categorized into "Stored ACL Policies" and "ACL Policies on local filesystem" (System context only).
- Stored ACL Policies
ACL Policies stored in the Rundeck storage system (e.g. in the Database), typically shared across Cluster members.
These policies can be modified by Admin users. Click the "Edit" button to edit the Policy, or use the action menu to Delete or Upload a new definition for the Policy.
- Local Filesystem ACL Policies (System context only)
Local ACL Policies files on the filesystem of the Cluster member. (A default set of ACL Policies for
adminuser is created on the filesystem for new Rundeck installations.)These policies cannot be modified via the web GUI.
In Runbook Automation you can also see an "Access Levels" tab, which allows testing the current Access Levels for users and groups across all loaded ACL Policy files.
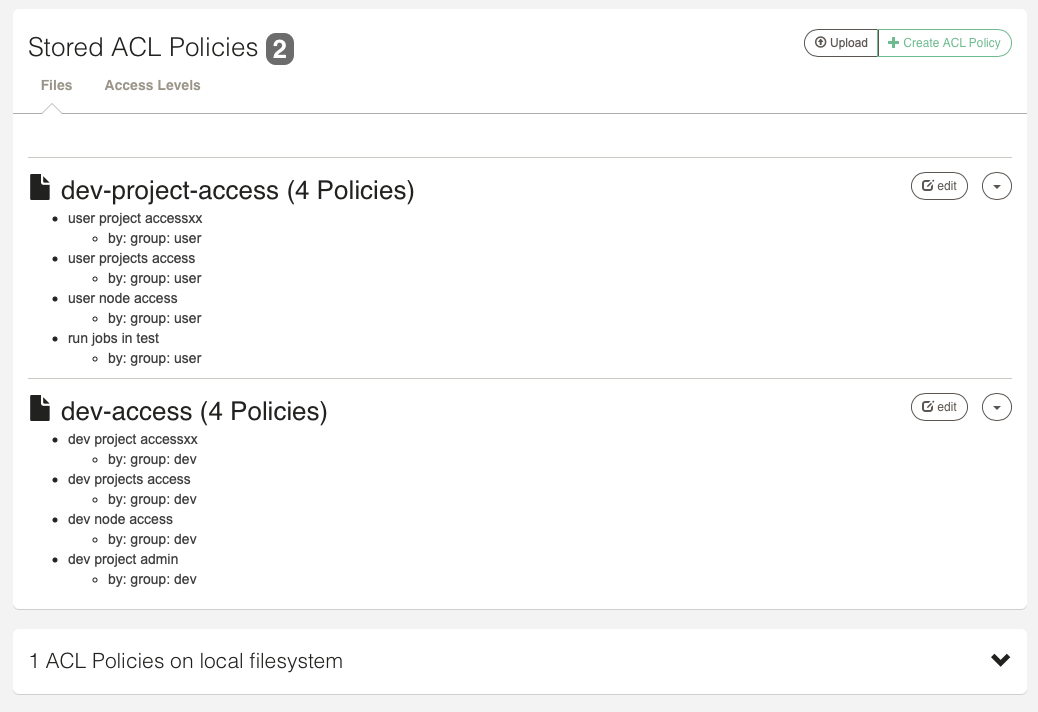
Project Context:
The Project context Access Control page is similar to the System Access Control page, but has no entries for local filesystem policies.
Editing ACL Policies
Choose "Edit" or "Create" to modify an ACL Policy.
You can edit the YAML format for the ACL Policy directly. (In Runbook Automation, click the "Editor" tab to view the YAML editor.)
Tips
See the Access Control Policy and aclpolicy pages for more information.
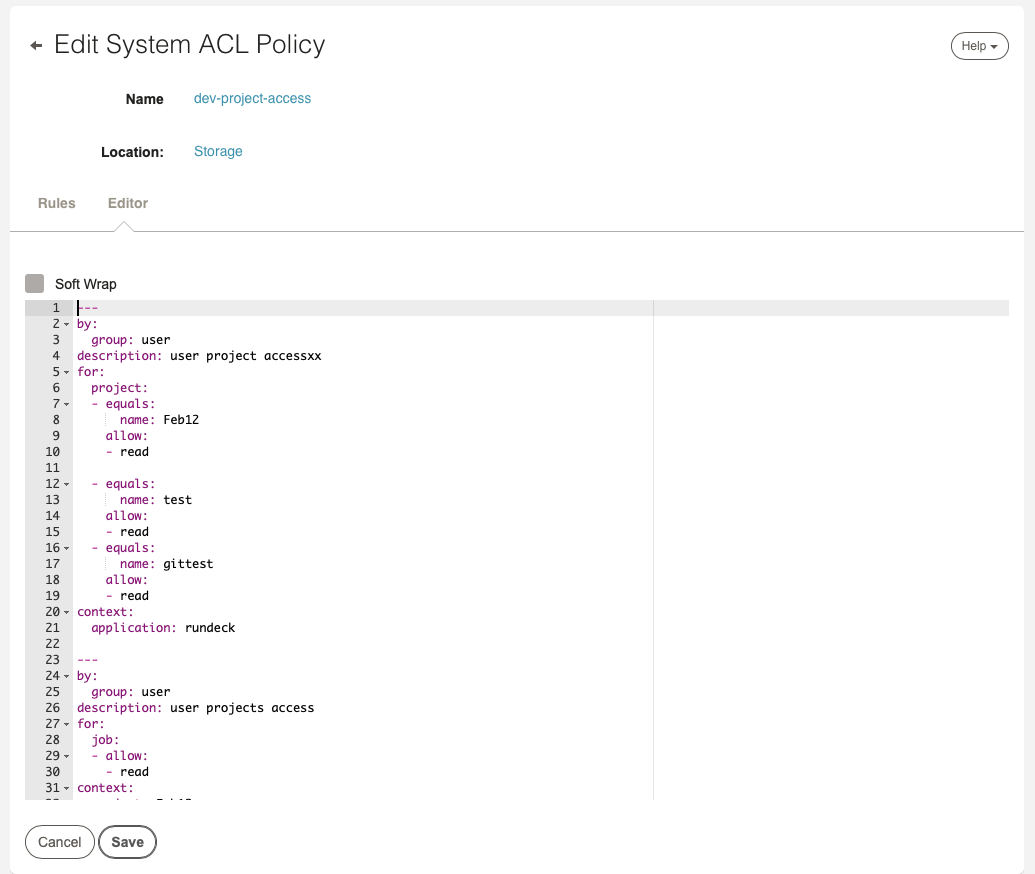
Validation
If your ACL Policy YAML fails validation checks, attempting to save it will display a validation error:

Editing ACL Rules (Commercial)
In Runbook Automation, by default you will see the Rules editor which allows defining ACL Policy rules with a simpler wizard UI.
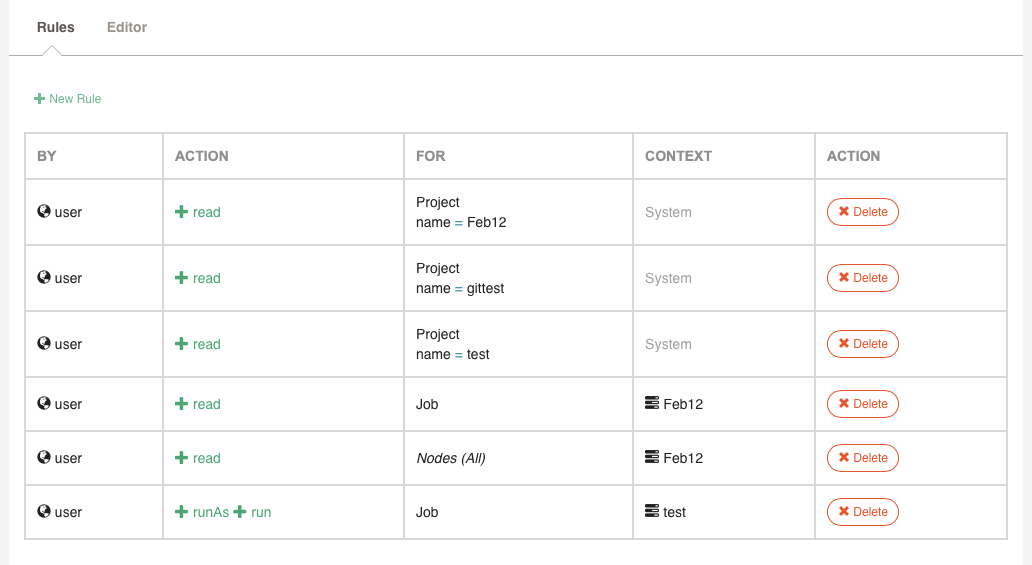
The list displays all rules for the ACL Policy file, with the "By", "Action", "For", and "Context" information displayed.
Tips
Note: You can switch between the Editor and Rules tabs at any time to see the same ACL Policy definition. This is helpful if you create a new Rule in the Rule Editor, and need to change a detail afterwards, or if you need to paste YAML content into your ACL Policy.
Delete existing rules by clicking the Delete button in the final column.
Create a new rule by clicking the "New Rule" button.
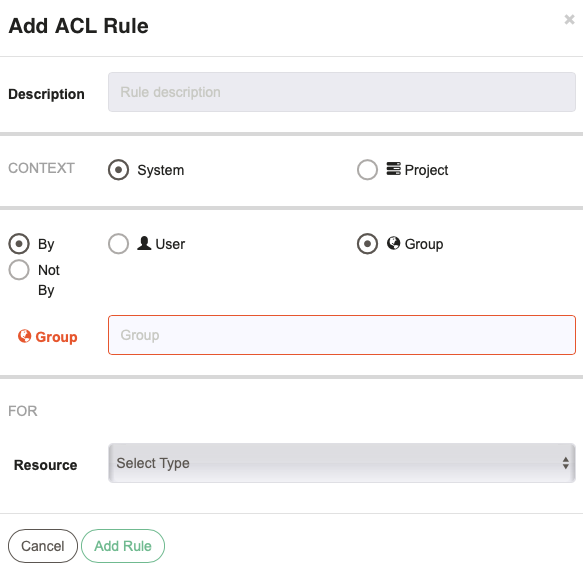
- Description
- Enter a textual description of the policy (optional)
- Context
- For System Context ACL Policies, Choose between System context, or enter a Project name or pattern. For Project Context ACL Policies, the Context is the current project.
- By/Not By
- Choose User or Group, and enter a value. For "By" this means the rule will apply to that group or user. For "Not By" this means the rule will apply to any access by someone not with the specified username, or in the specified group.
- For
- This section defines the Resource Type the rule applies to. Different Resource Types are available depending on whether the rule is for System or Project context.
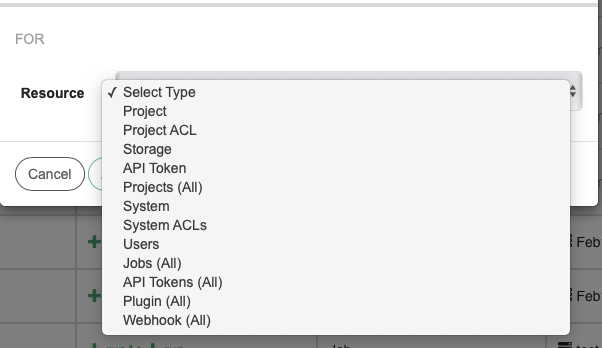
More information about System Context Resource types are in the Access Control Policy > Application Scope Resources and Actions page.
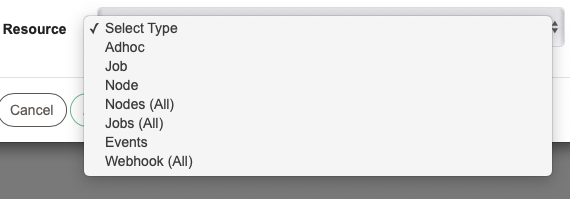
More information about Project Context Resource types are in the Access Control Policy > Project Scope Resources and Actions page.
After choosing the Resource Type, some types will display a set of "Params" allowing you to specify which resource(s) of that type the rule applies to.

Warning
If you leave the Params section blank, the rule will apply to all resources of the chosen type.
Different comparator types can be selected depending on the data available, e.g. "matches" (regular expression match), "equals" (string equality), "contains" (set contains, used for Node Tag matching), "subset of" (set subset of, used in API Token roles matching).
Finally, choose whether to Allow or Deny an action, and check the actions to apply.
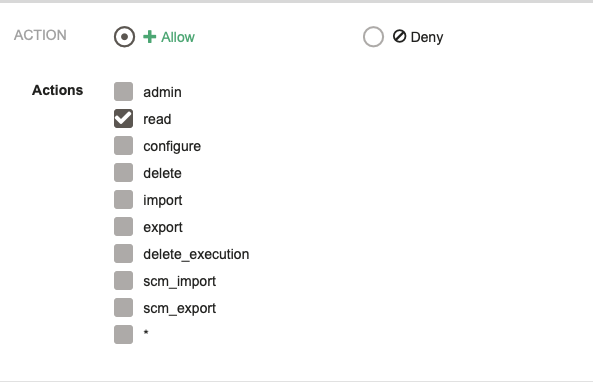
The special action * can be used to match all actions for the resource.
Click "Add Rule" to add the rule to the Policy.
You will now see the rule in the Rules list:

Finally, Save your ACL Policy.
Access Level Checks (Commercial)
In the Access Control Pages, you can click the "Access Levels" Tab to test Access Levels for users and groups.
In the System Context page you can choose between System context access level checks, or click "Project" and choose a Project name to view Project context access levels.

Tips
In the Project Context page you will only be able to view access level checks for that Project.
Choose whether to test a Group or User access level. Choose Group (world icon) or User (profile icon).
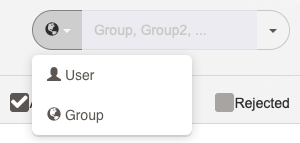
If you choose Group, enter a Group name or choose one from the drop down list. You can enter multiple values separated by commas.
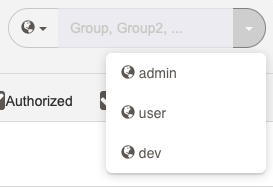
Seeing What is Allowed
Access Levels to a resource in Rundeck are shown as Actions that are either Allowed, Denied, or Rejected.
An Allowed Action means an ACL policy allows the action, and no other policy denies it.
A Denied Action means an ACL Policy denies the action even if another policy allows it.
A Rejected action means that no ACL policy explicitly either allows or denies the action (which means the action would not be allowed to the end user).
By default Authorized and Denied actions are displayed when you select a resource, and Rejected actions are not shown. This can be changed using these checkboxes:

If Rejected is checked, any actions which are not allowed or denied will be displayed as a button you can click to create a new ACL Rule.

Clicking the button will take you to the ACL Rule Editor for a new ACL Policy, and present the Create Rule form with all of the necessary details filled in.
System Access Level Checks
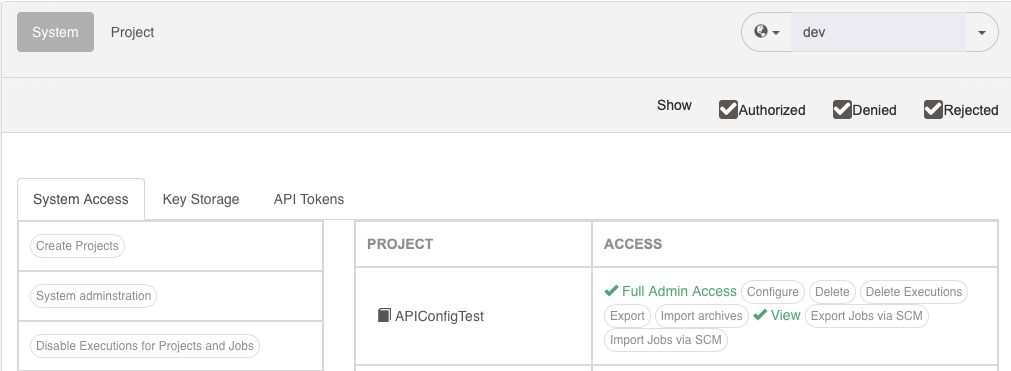
Once you have entered a Group or User, you will see three tabs:
- System Access Tab
- Shows access levels for system level resources, as well as an overview of general access levels for all Projects. Click on a Project Name to switch to that Context.
- Key Storage Tab
- Shows access levels for Key Storage resources. Click on a Key resource to see access levels.
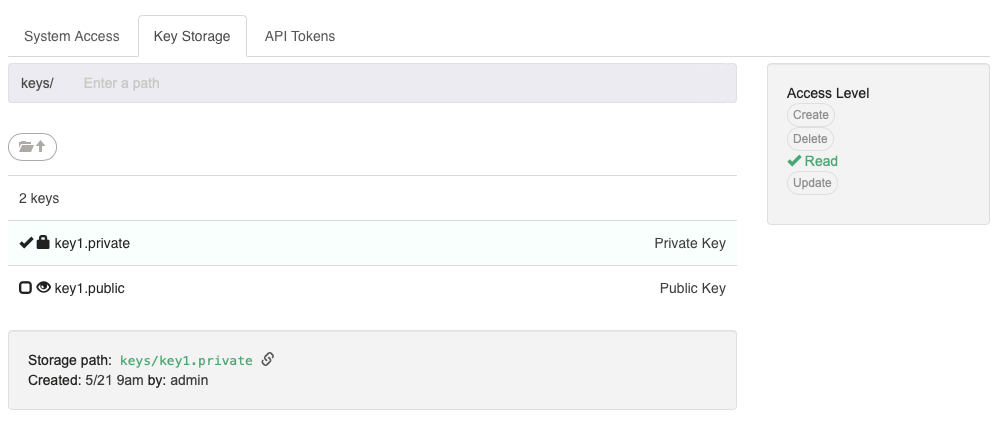
- API Tokens Tab
- Shows access levels for API Token generation. Enter a Username, or enter or select a Role. Access levels for creating API tokens with those details will be shown.

Project Access Level Checks
In the Project Context Access Control page, or if you select a Project in the System Context Access Control page, you will see access levels for the Project. These are shown in three tabs.
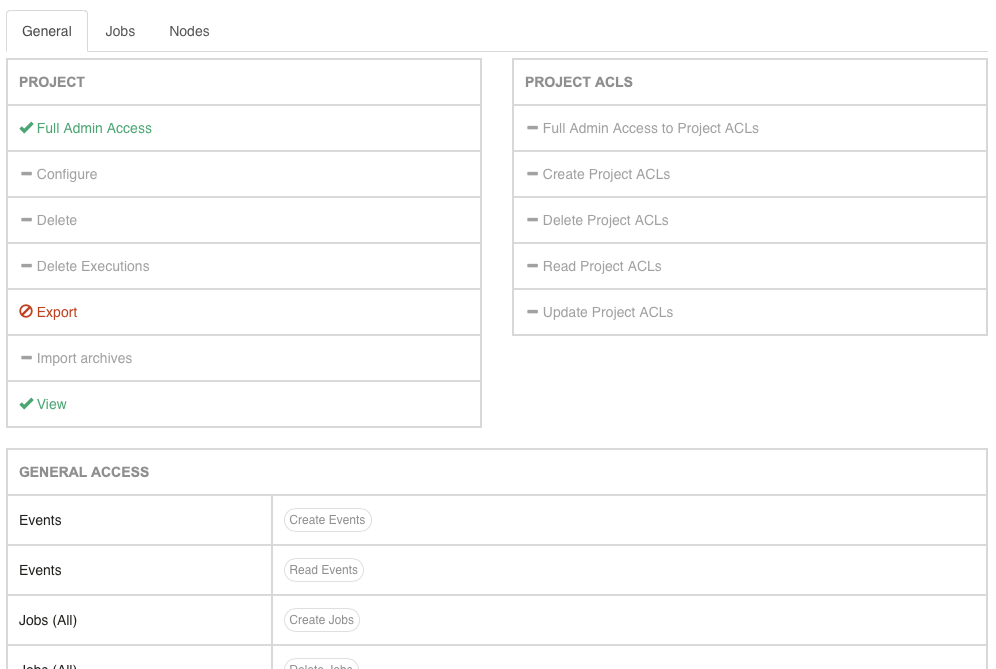
- General Tab
- Shows the Access Levels for the project itself, the Project ACLs, and Generic resources such as Events, Adhoc executions, and overall Job and Node level access.
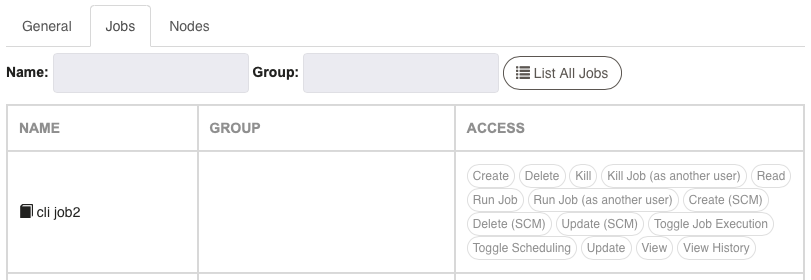
- Jobs Tab
Allows you to query for Jobs, or click "List All Jobs" to view all Jobs.
Project Jobs Access Tips
Note: Check the Show: Rejected checkbox if you see no Jobs in the list and the message "No Access", if you wish to see all jobs which have no Allowed or Denied access.
- Nodes Tab
Allows you to query for Nodes, or click the "List All Nodes" to view all Nodes.

Project Nodes Access
