Getting Started - Nodes
Getting Started - Nodes
This tutorial is based on example code in the Welcome Projects.
A Node is a resource that is either a physical or virtual instance of a network accessible host. Nodes have a few basic attributes, but a Node's attributes can be extended to include arbitrary named key/value pairs. Attributes typically describe the properties of a node or reflect the state of the node. (e.g. OSVersion: Ubuntu 18.04). Tags can also be assigned to a node for easy searching (e.g. prod or dev).
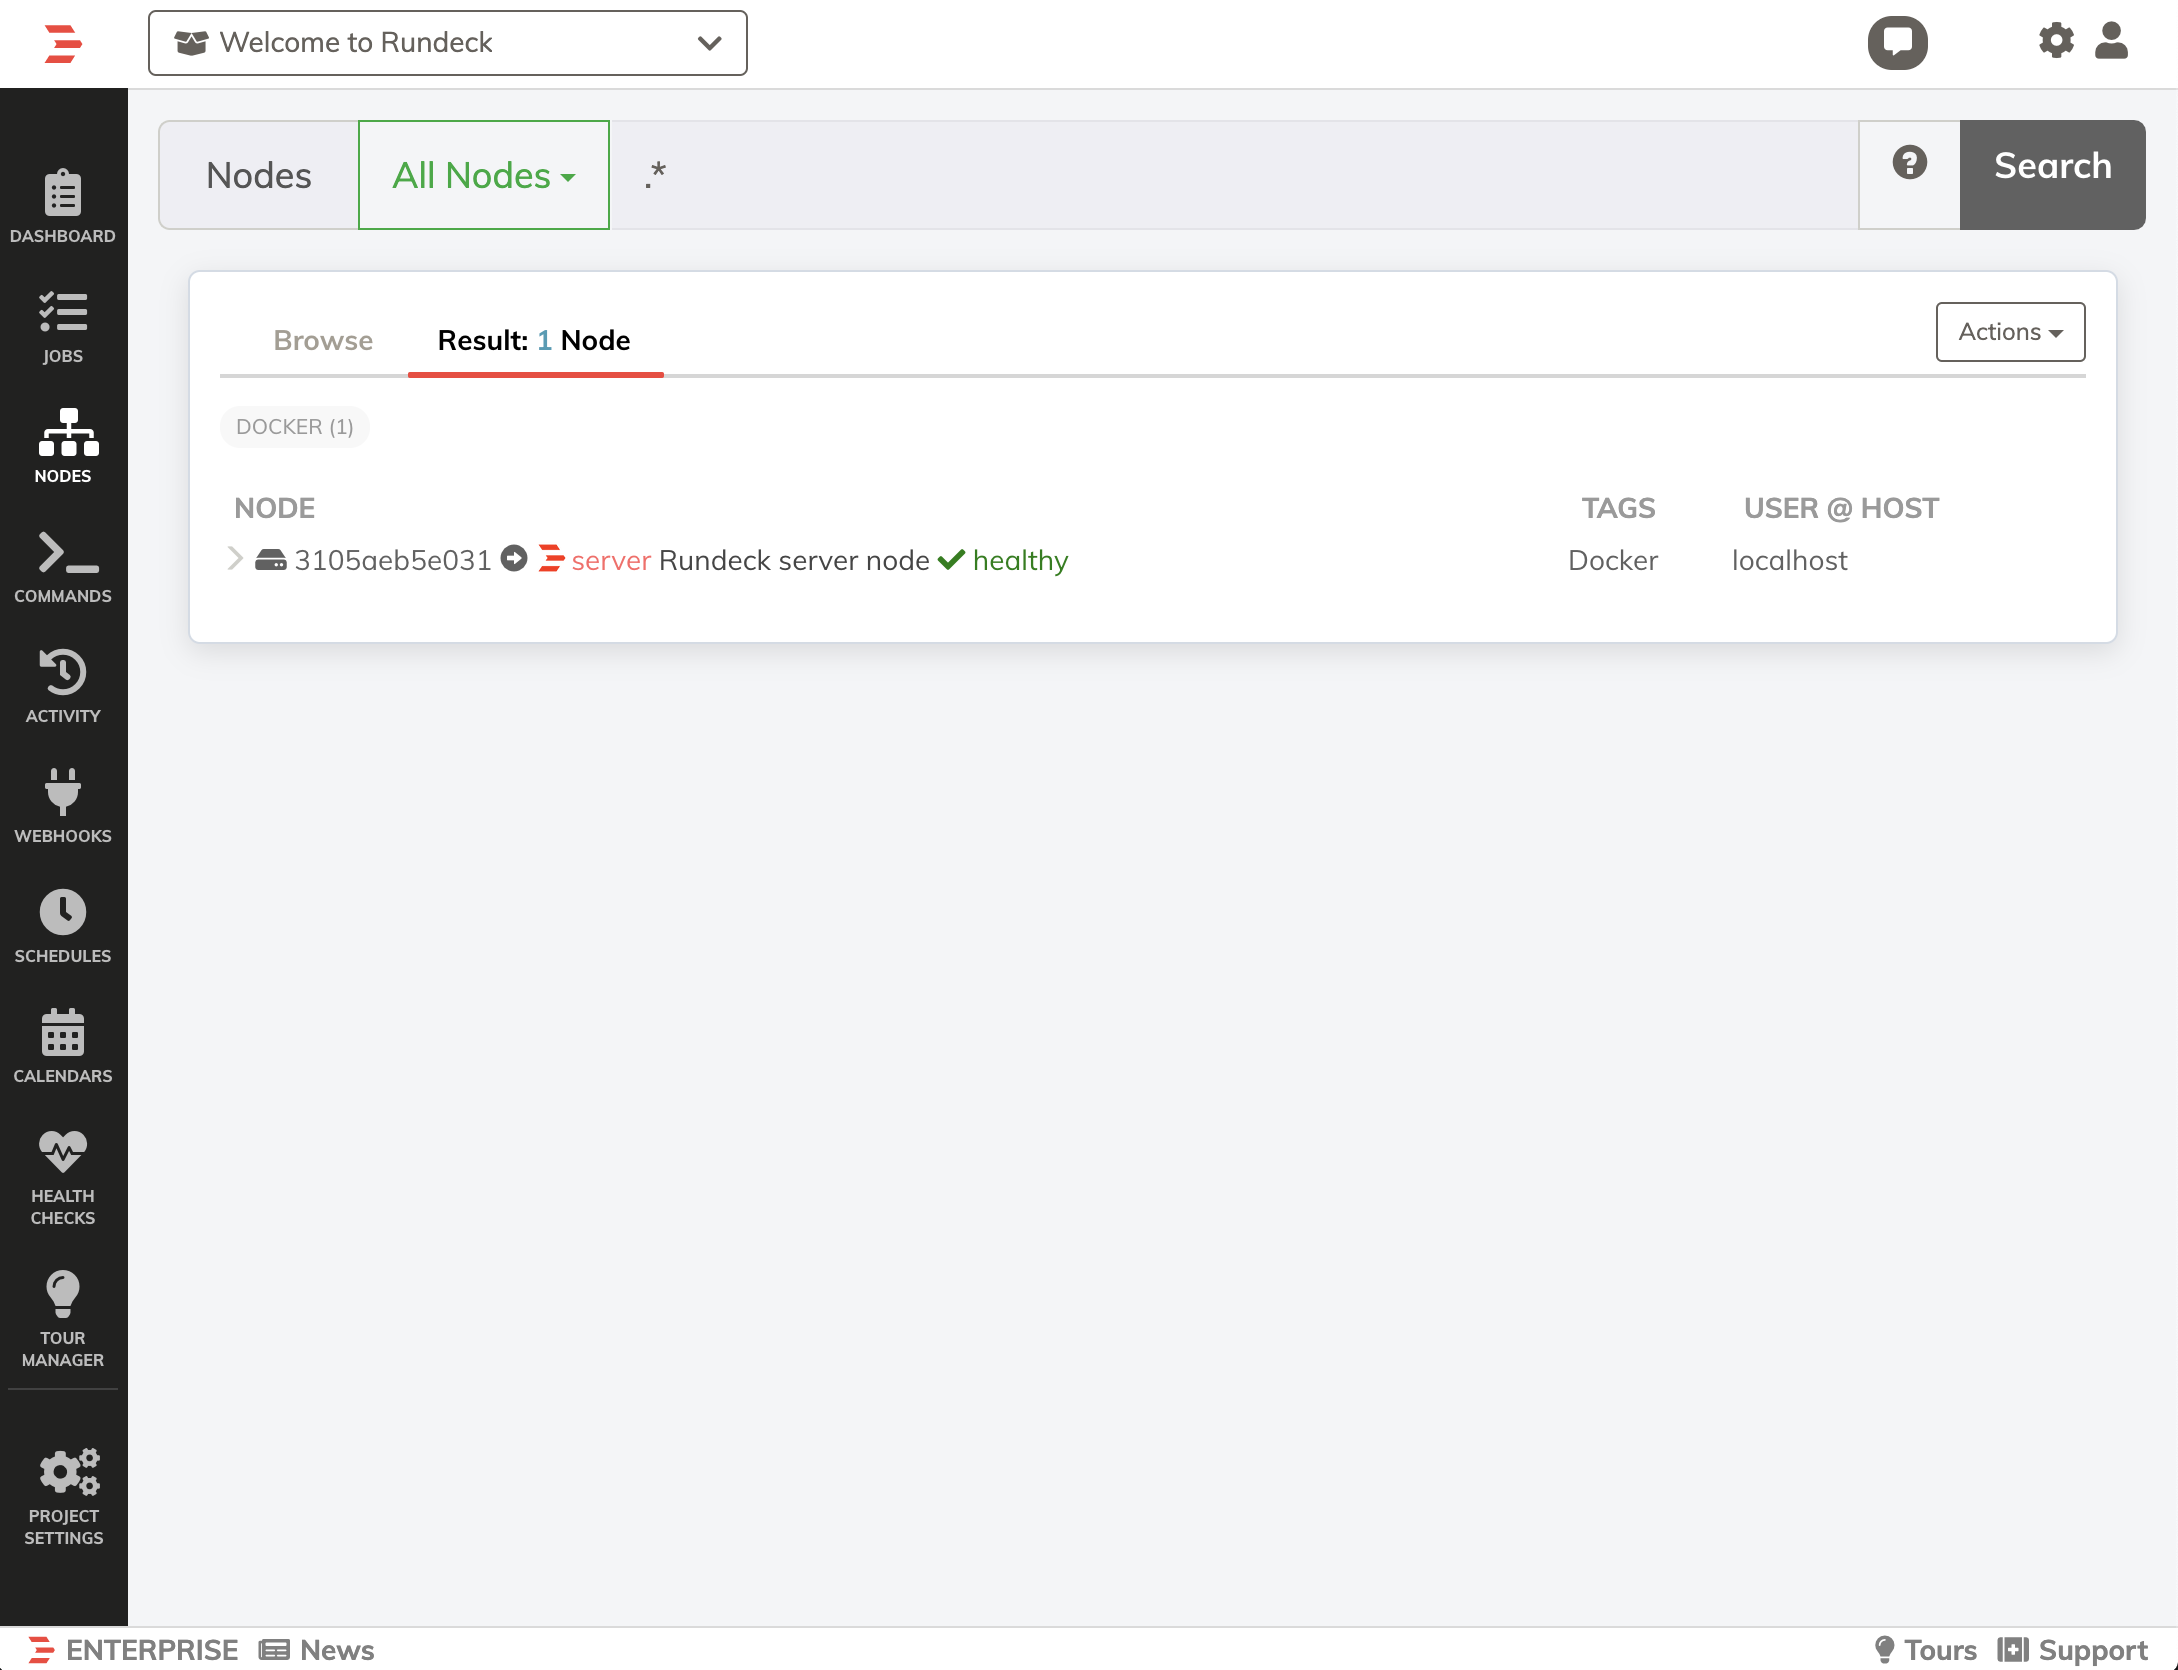
If this is the first run through of the tutorial there will be a single node in your Welcome Project (the Rundeck Server).
Enterprise/Community Exercise
- Click the
>next to the server node to see additional attributes of that node. - Clicking attribute values will dynamically filter the nodes based on that value.

Adding Nodes
Node Sources
There are multiple ways to add Nodes to Rundeck. Using the Node Wizard Resource Model is the simplest way to add a node to the project.
Included in Enterprise is the Node Wizard Node Source. Use that to add a new node by following these steps:
- Click Project Settings | Edit Nodes
- Click the Modify button under the Node Wizard entry.
- Click + Add Node.
- Set the Node Name to
node1 - Set HostName to
node1 - Set OS Family to
Unix - Click the Authentication Tab at the top.
- Enter
agentfor the UserName - Click Add Node
- Repeat the steps above for node2
- Click the Save button under the list of nodes.
- Click Project Settings | Edit Nodes
- Click the Modify button under the
File /home/rundeck/resources.ymlentry. - Copy and paste the code below into the edit window:
node1: nodename: node1 hostname: node1 description: '' username: agent osFamily: unix - Duplicate that entry again changing all the
node1values tonode2.
YAML is specific about indentation so be sure to check your formatting. (tip: use two spaces not a tab)
Checking your Nodes
- Click the Nodes entry in the Project Menu
- Enter
.*in the filter and click Search.
(if the node doesn't show up right away wait a few seconds and try again)
Next let’s test our nodes using an ad-hoc Command.
