Add and connect to a node through the Runner
Add and connect to a node through the Runner
Now that a Runner has been configured, the next goal is to run a job on a test machine in your environment. This will require a bit more configuration. These instructions are designed with a Linux machine in mind and you’ll need a few pieces of information to complete these steps:
- An IP address or hostname that can be reached from the Runner
- A private key (usually a .pem file) for connecting to the node with SSH
Add key to keystore
PagerDuty’s Runbook Automation products have a built-in keystore for storing keys and passwords. In this section, you’ll upload the private key needed to connect from the Runner to the test node.
- Access Key Storage for the Project by clicking the Project Settings gear at the bottom left and then click Key Storage

- In Key Storage, click the Add or Upload a Key green button

- Ensure that Private Key is selected for the Key Type then select Upload File from the menu at the left.
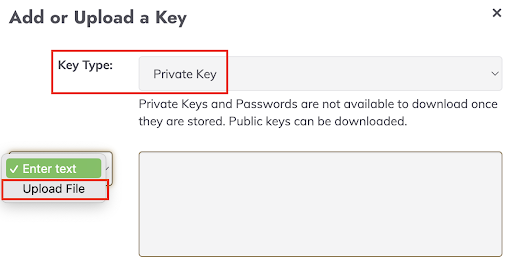
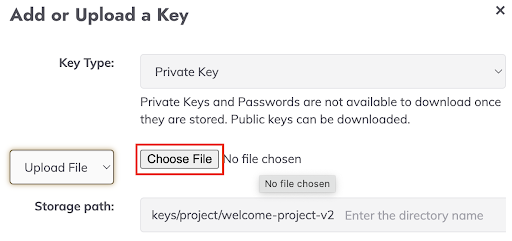
- After selecting Upload File, click the Choose File button to browse and select a private .pem key for connecting to your test node through SSH
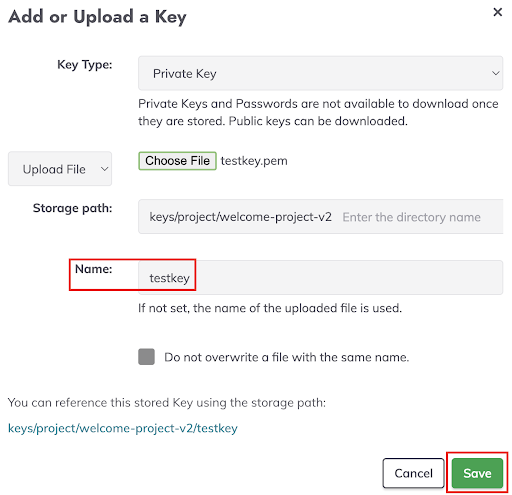
- Enter a name for the key in the name field, such as testkey, then click the green Save button at the bottom
Add a test node
Next, we’ll add your test machine to the project as a node. Nodes can be defined manually or dynamically using Node Sources, which are configured under Project Settings. In this case, as with most testing, we’ll add the node information using a source called Node Wizard. if you don't see the Node Wizard, you can add it in by clicking Edit Nodes | Sources | Add a new Node Source under the Project settings gear at the bottom left.
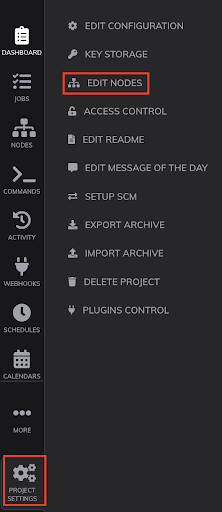
- Click the Project Settings gear at the bottom left, then Edit Nodes
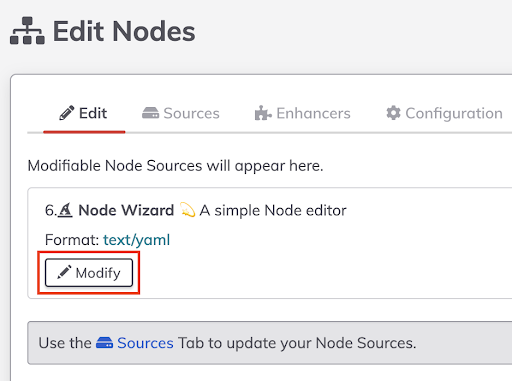
- On the Edit tab under Edit Nodes, click Modify for the Node Wizard
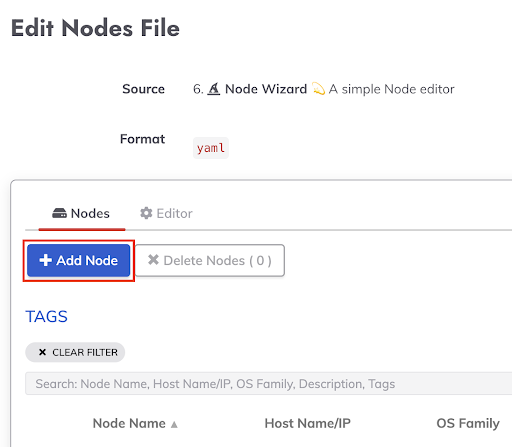
- On the Edit Nodes File screen of the Node Wizard, click the Add Node button
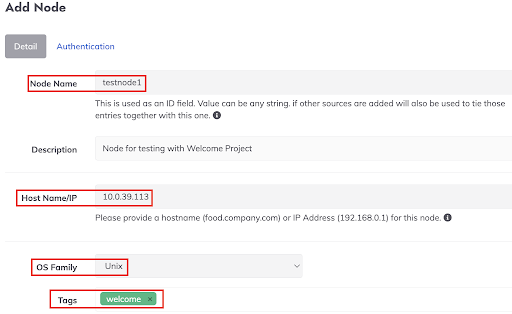
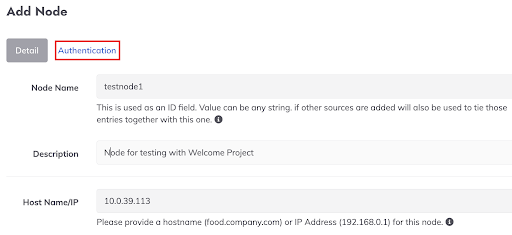
- Under Add Node | Detail, enter values for Node Name, Host Name/IP, OS Family and tags
- Click Authentication to change to the second tab
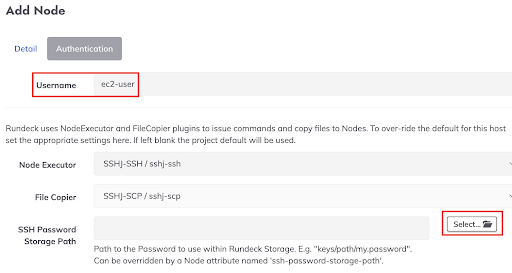
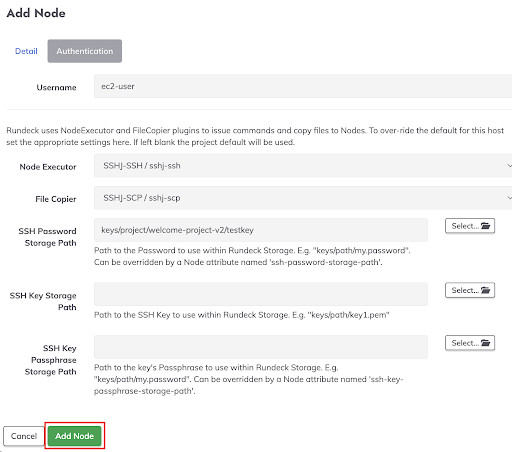
- Enter the correct value for Username and click the Select button for SSH key storage path
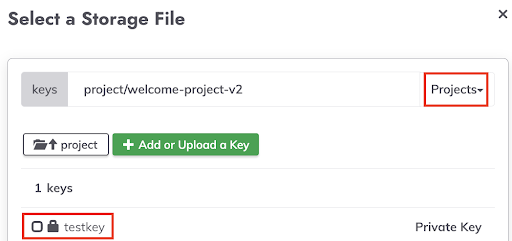
- Choose the project as a key location by clicking the Projects menu and then select the box next to testkey
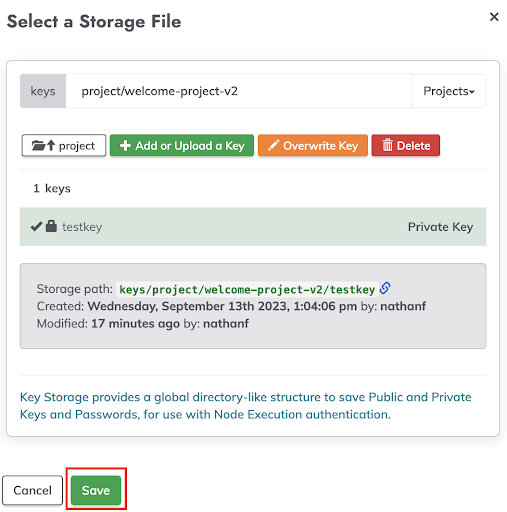
- Once the key has been selected, the screen will update and then you can click the green Save button at the bottom of the screen
- Click the Add Node button to save these changes and complete this process
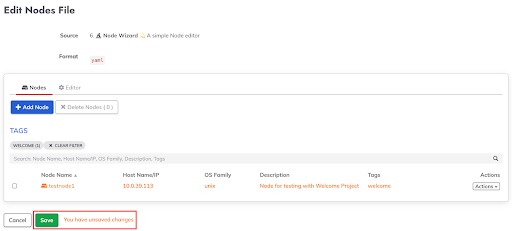
- Click Save at the bottom of the Edit Nodes screen
Add Runner tag to job
The last piece of setup is to configure a job to use our Runner to connect to your test node
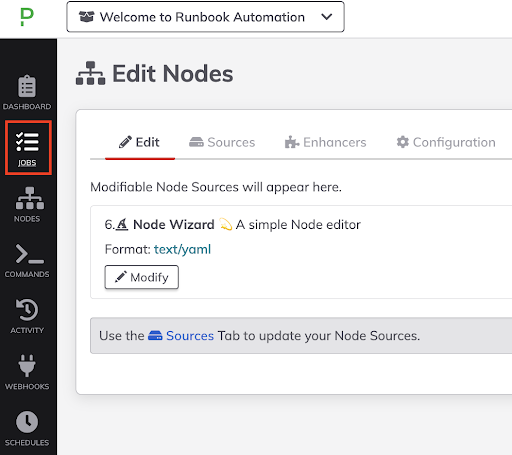
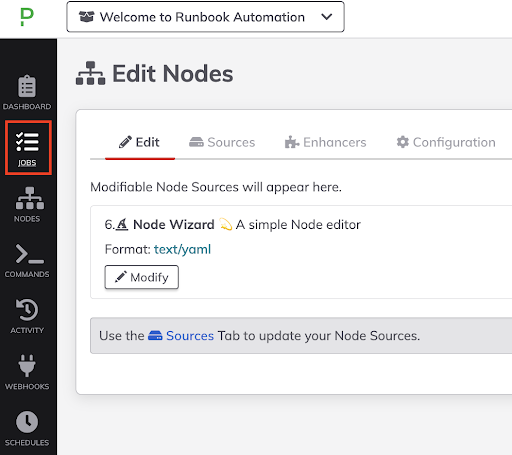
- Click Jobs from the left-hand menu
- On the All Jobs screen, click > next to Linux to open the Linux Job Group
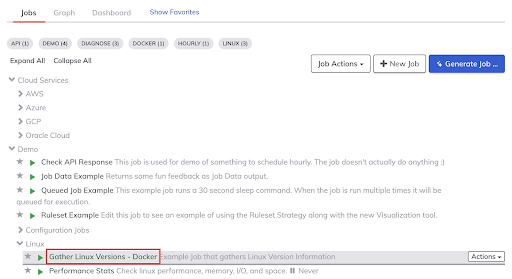
- Access the Gather Linux Versions job by clicking the job name in the list

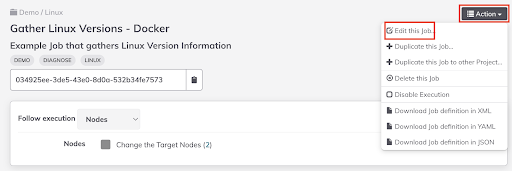
- Edit the job by clicking the Actions button at the right and then selecting Edit this Job
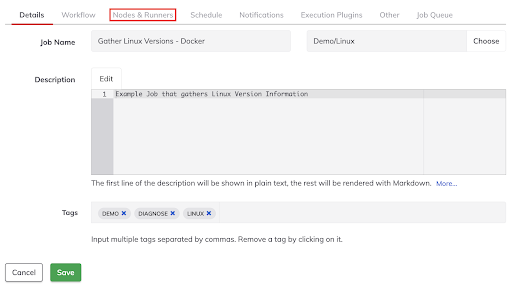
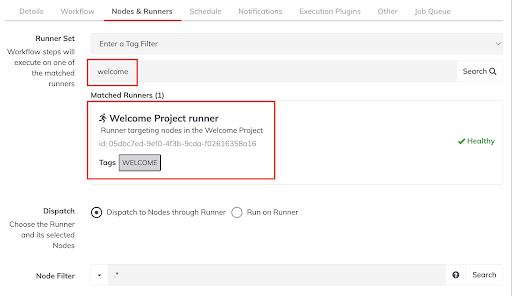
- To access information about connecting to nodes for this job, click Nodes & Runners to select the tab
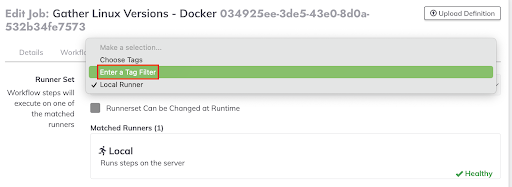
- Click on the menu next to Runner Set (current value Local Runner)
- Select Enter a Tag Filter
- Below Enter a Tab Filter, enter welcome as a tag (as we set on the Runner earlier) and then click on Welcome Project runner to select it
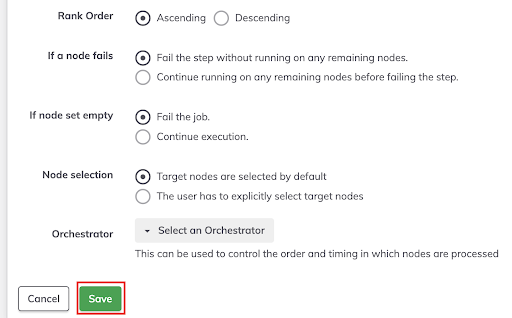
- Click Save at the bottom of the screen to save these changes
- Run job against test node through Runner
Select Change the Target Nodes and Select None, then click Welcome to select testnode1 as the single target. Click Run Job Now to run the job against that node.
- Click > next to testnode1

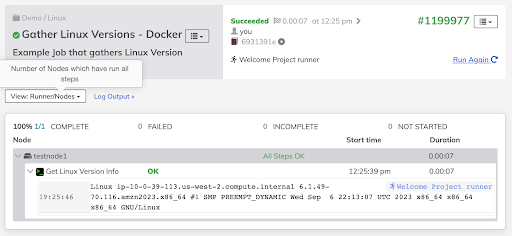
- Under testnode1, click > next to Get Linux Version info to display the results of this job
