Azure Workflow Steps
Azure Workflow Steps
The Microsoft Azure cloud computing platform that offers a variety of services including but not limited to storage, networking and analytics. Azure's integration with Runbook Automation allows you to edit and utilize your Azure services in a Runbook Automation job.
Authentication
Follow the steps outlined in the Azure Plugins Overview to configure authentication for Azure Job steps. Credentials can be configured on a per Job Step basis, Project basis, or for the entire Runbook Automation system.
Azure / VM / Create
This job step allows users to create a new Virtual Machine hosted by Azure. In order to do so, you need to specify information about the configuration of the virtual machine.
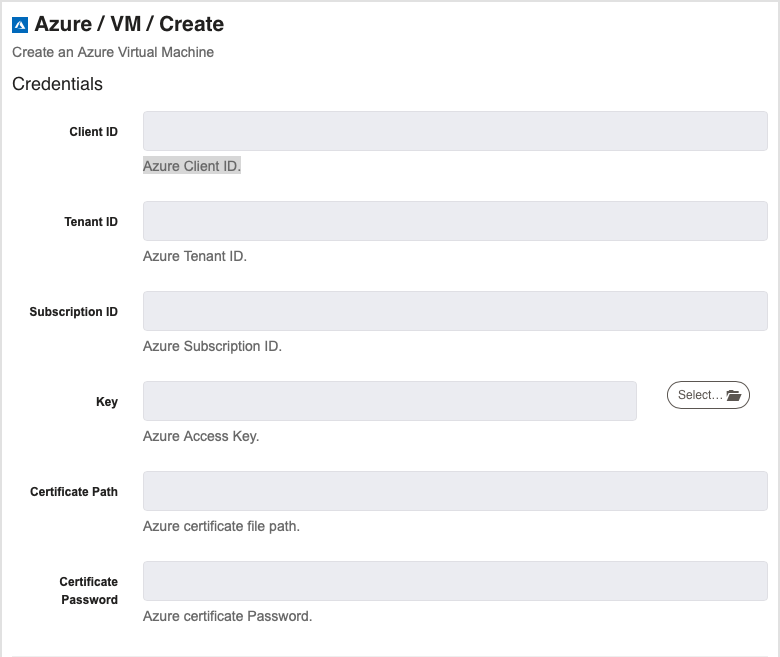
Client ID : This is where you provide the Azure client ID. To find it, choose the application you wish to use and look for the Application ID. This is the same as the client ID.
Tenant ID : This is where you provide the Azure tenant ID. To find it, search for "tenant properties" in the Azure portal and go to that page. The tenant ID is in the center of the page.
Subscription ID : This is where you provide the Azure subscription ID. To find it, go to subscriptions and find the subscription you wish to use to host the VM and copy that subscription ID.
Key : This is the access key that will grant access to your Azure account. To find it, go to storage accounts, choose the storage account you wish to use and select access keys under settings.
Certificate Path : (Optional if the access key is not defined) This is the file path to the Azure certificate. If you don't have a certificate already, go to the App Services Certificates page and click "Create App Service Certificate."
Certificate Password : (Optional if the access key is not defined) This is the password for the Azure certificate.
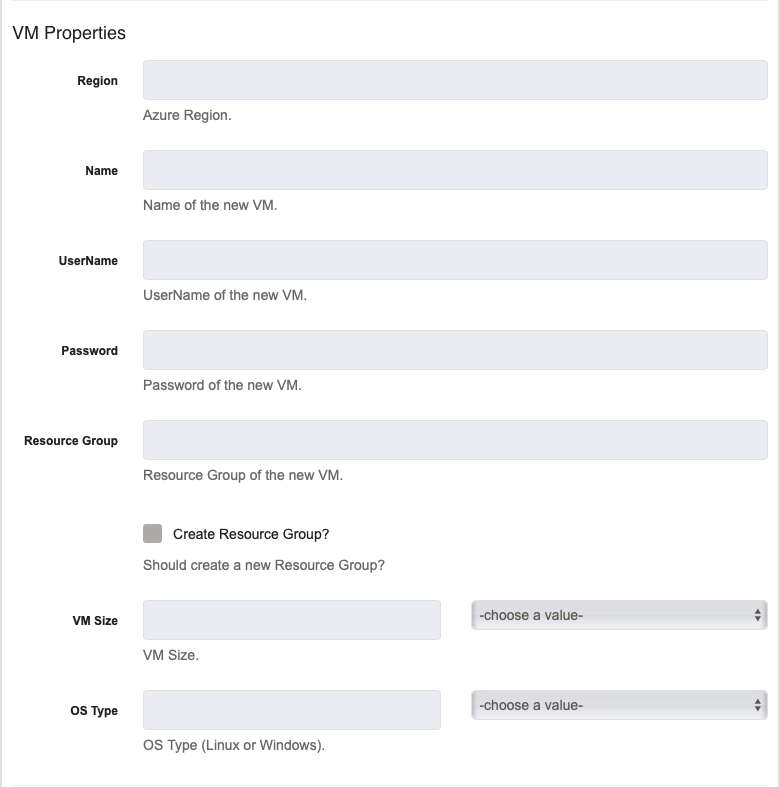
Region : This is the Azure region you wish to use for the Virtual Machine. An example is "East US."
Name : This is the name you want the new Virtual Machine to be called.
UserName : This is the username used to login on the new Virtual Machine.
Password : This is the password used to login on the new Virtual Machine.
Resource Group : This is the resource group for the VMs you want listed. To see the different resource groups you have, seach for "resource groups" and navigate to that page.
Create resource group : If checked, this will create a new resource group that the VM is in.
VM Size : This is the size of the new Virtual Machine (from a list of preset options).
OS Type : This is the operating system you want on the new Virtual Machine (Linux or Windows).

Primary Network : This is the IP address of the primary network.
Network Type : This is the network type for the VM (public or private).
Azure / VM / List
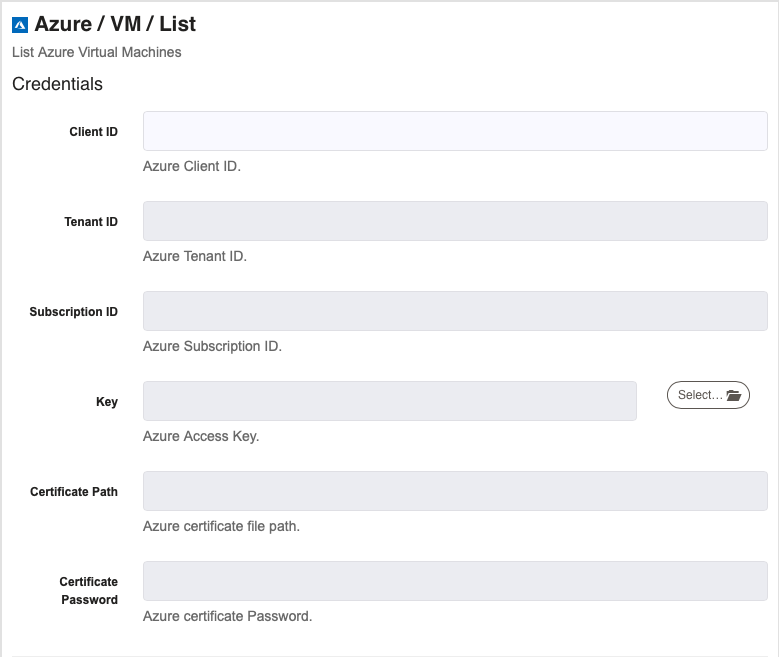
This job step allows users to get a list of all of the Virtual Machines being hosted by Azure.
Client ID : This is where you provide the Azure client ID. To find it, choose the application you wish to use and look for the Application ID. This is the same as the client ID.
Tenant ID : This is where you provide the Azure tenant ID. To find it, search for "tenant properties" in the Azure portal and go to that page. The tenant ID is in the center of the page.
Subscription ID : This is where you provide the Azure subscription ID. To find it, go to subscriptions and find the subscription you wish to use to host the VM and copy that subscription ID.
Key : This is the access key that will grant access to your Azure account. To find it, go to storage accounts, choose the storage account you wish to use and select access keys under settings.
Certificate Path : (Optional if the access key is not defined) This is the file path to the Azure certificate. If you don't have a certificate already, go to the App Services Certificates page and click "Create App Service Certificate."
Certificate Password : (Optional if the access key is not defined) This is the password for the Azure certificate.
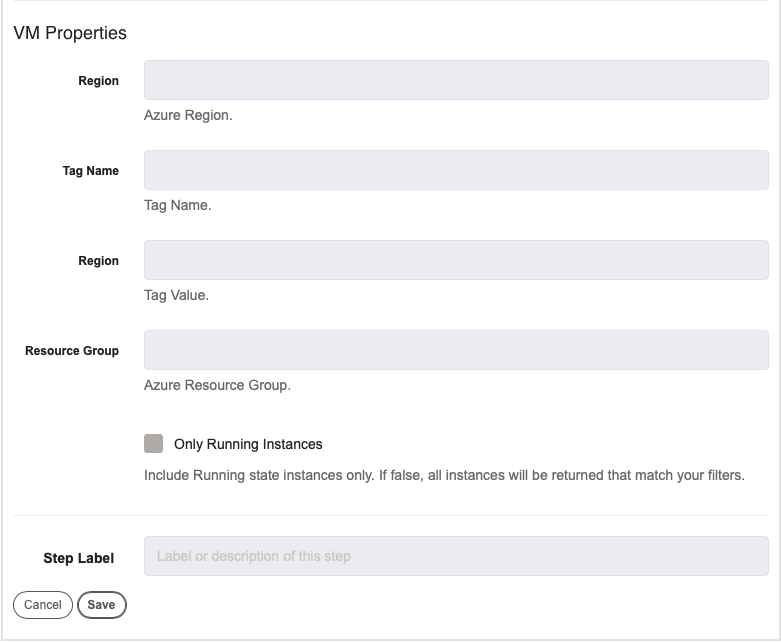
Region : This is the region of the VMs you want listed.
Tag Name : This is the tag for the names of VMs you want listed.
Region : This is the tag value for the regions you want VMs listed within.
Resource Group : This is the resource group for the VMs you want listed. To see the different resource groups you have, seach for "resource groups" and navigate to that page.
Azure / VM / Start
This job step allows users to start a Virtual Machine that is being hosted by Azure.
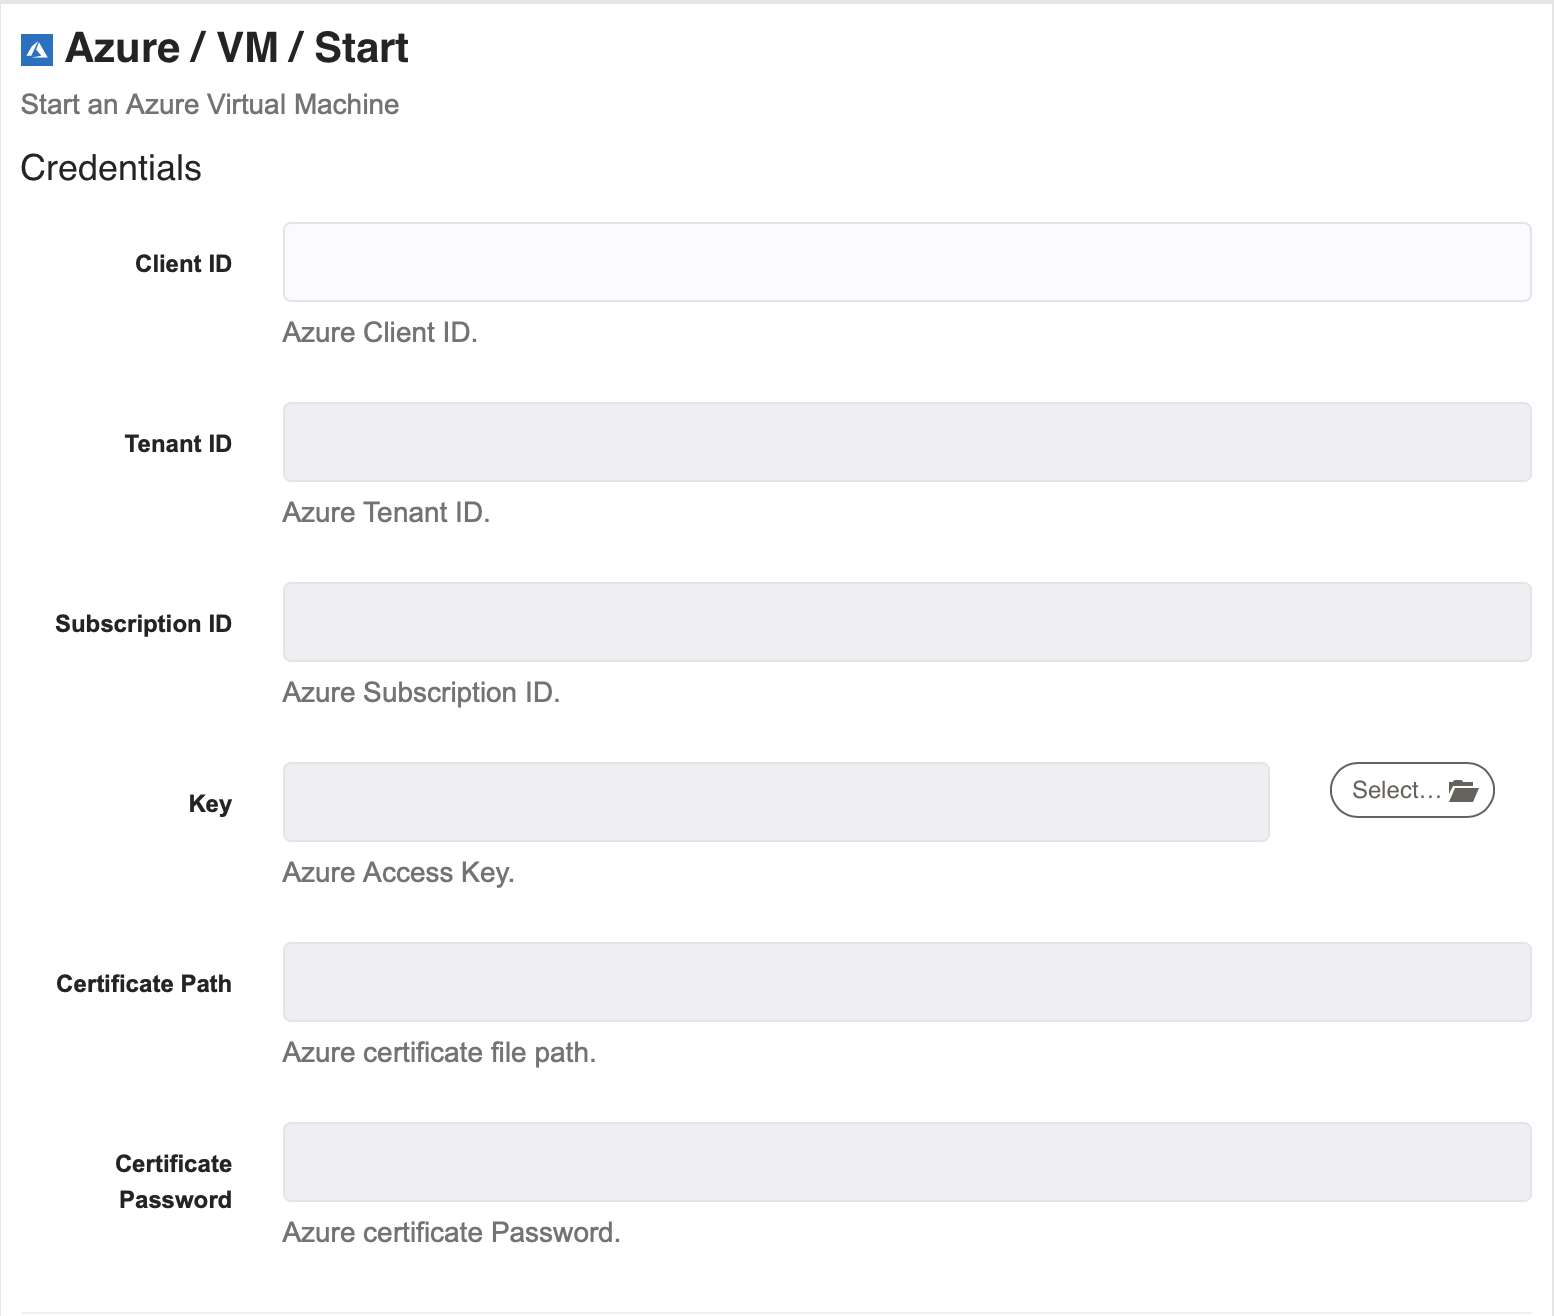
Client ID : This is where you provide the Azure client ID. To find it, choose the application you wish to use and look for the Application ID. This is the same as the client ID.
Tenant ID : This is where you provide the Azure tenant ID. To find it, search for "tenant properties" in the Azure portal and go to that page. The tenant ID is in the center of the page.
Subscription ID : This is where you provide the Azure subscription ID. To find it, go to subscriptions and find the subscription you wish to use to host the VM and copy that subscription ID.
Key : This is the access key that will grant access to your Azure VM. To find it, go to app registrations on Azure, click on the application you want to link, and then go to certificates and secrets. Now create a new secret or use an existing one, making sure to use the secret value and not ID.
Certificate Path : (Optional if the access key is not defined) This is the file path to the Azure certificate. If you don't have a certificate already, go to the App Services Certificates page and click "Create App Service Certificate."
Certificate Password : (Optional if the access key is not defined) This is the password for the Azure certificate.
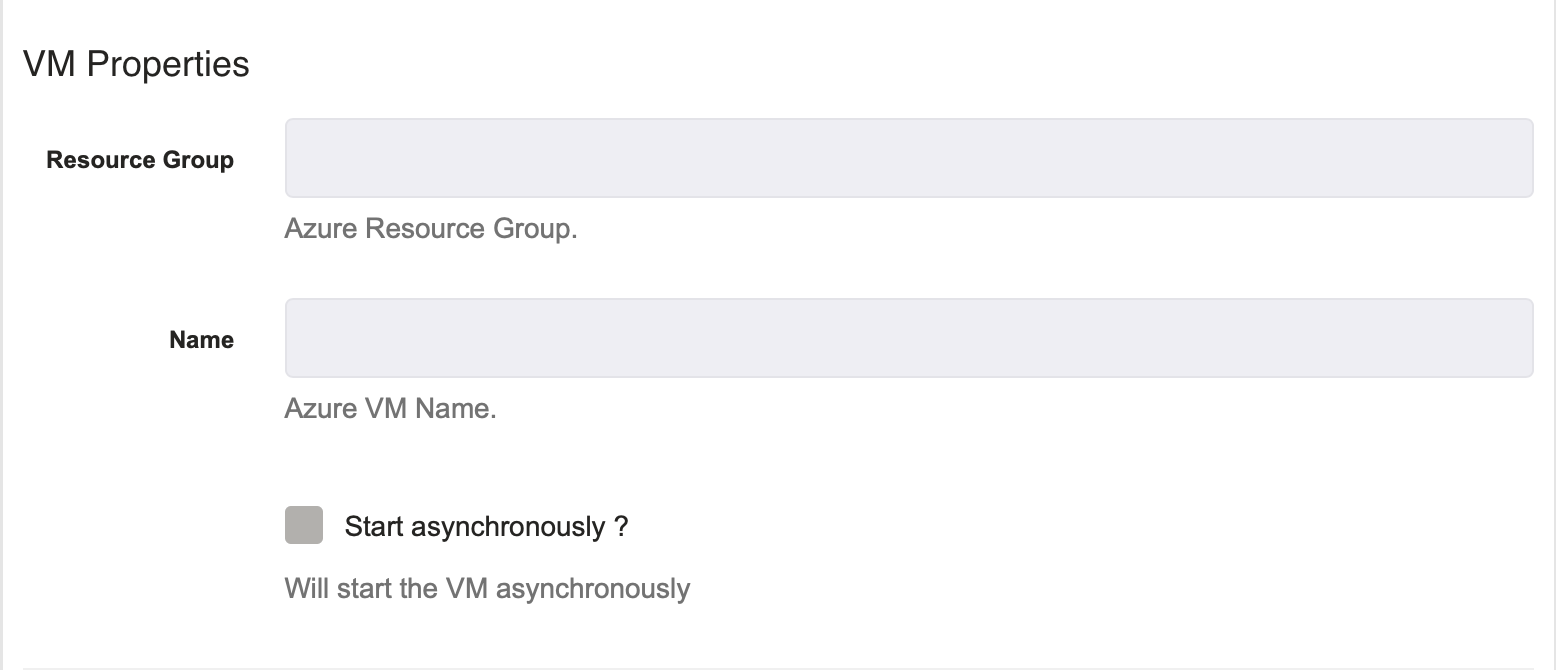
Resource Group : This is the resource group for the VMs you want listed. To see the different resource groups you have, search for "resource groups" and navigate to that page.
Name : This is the name of the VM you wish to start.
Azure / VM / Stop
This job step allows users to stop a Virtual Machine that is being hosted by Azure.
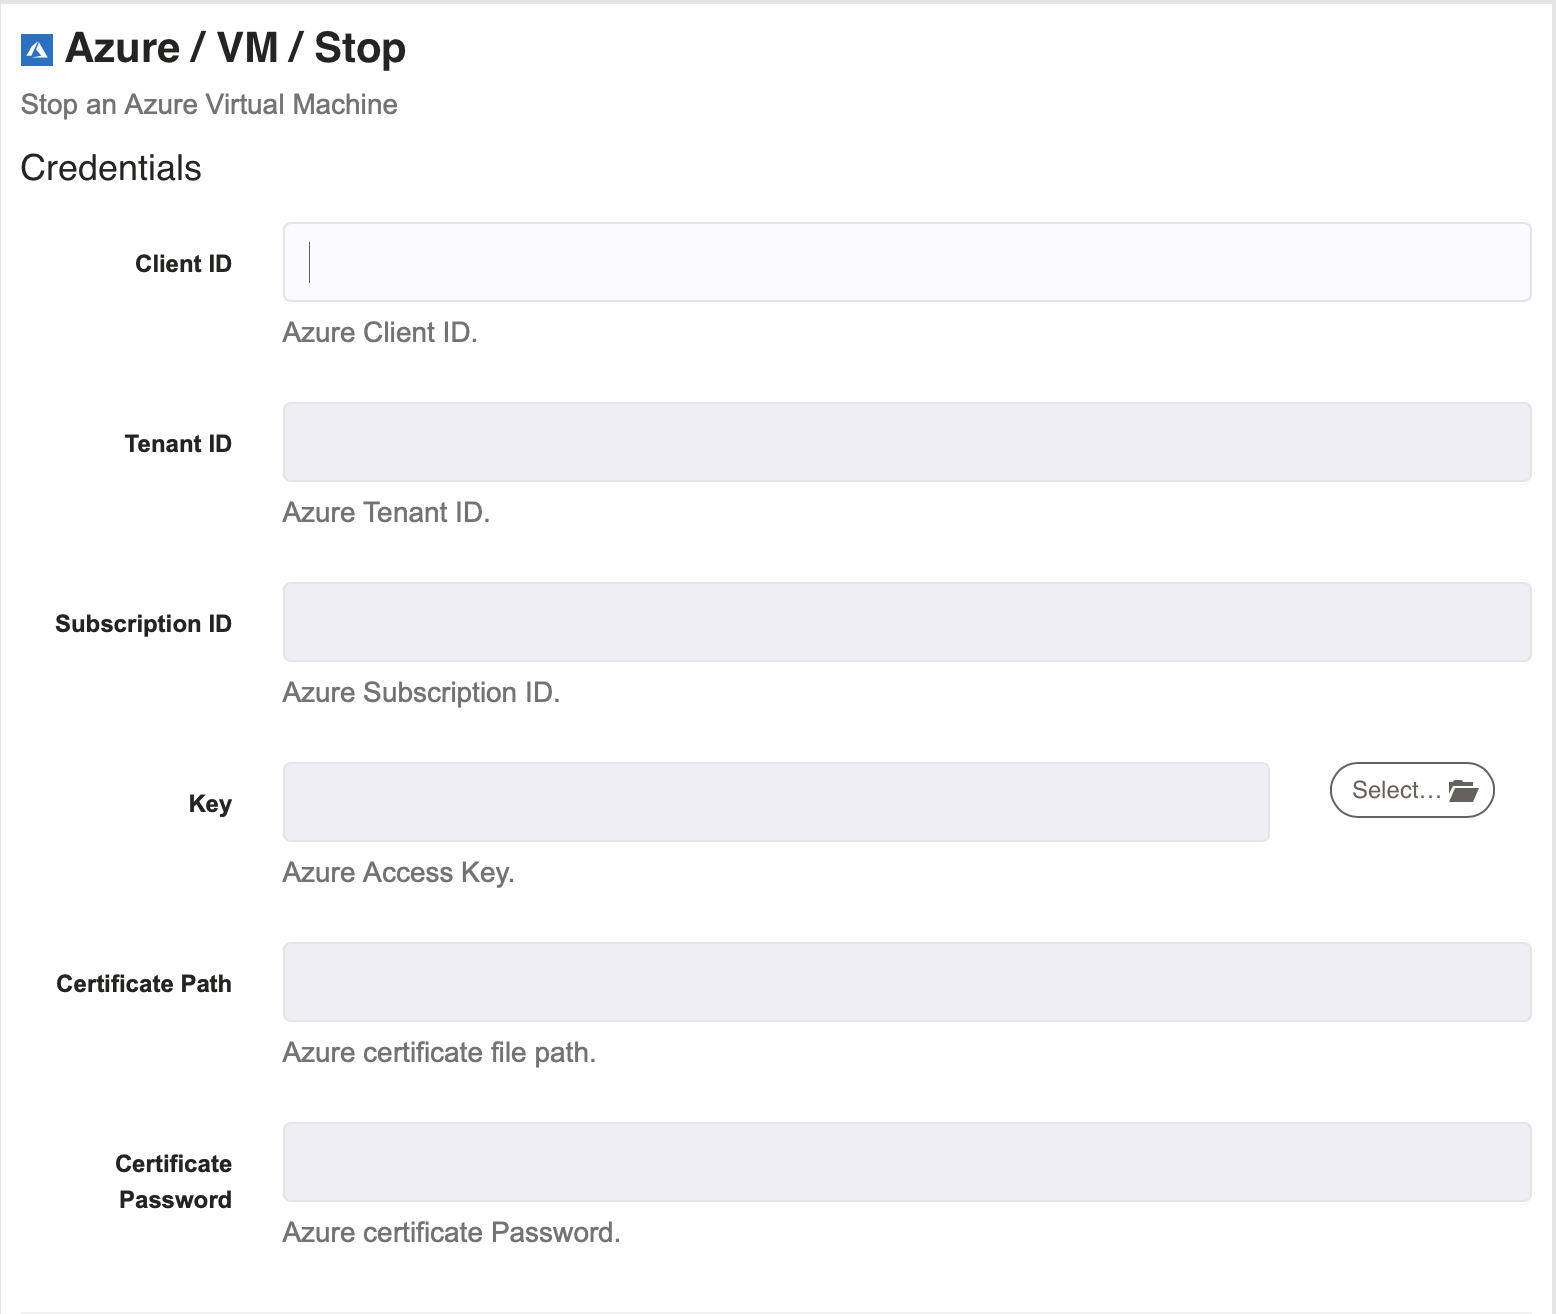
Client ID : This is where you provide the Azure client ID. To find it, choose the application you wish to use and look for the Application ID. This is the same as the client ID.
Tenant ID : This is where you provide the Azure tenant ID. To find it, search for "tenant properties" in the Azure portal and go to that page. The tenant ID is in the center of the page.
Subscription ID : This is where you provide the Azure subscription ID. To find it, go to subscriptions and find the subscription you wish to use to host the VM and copy that subscription ID.
Key : This is the access key that will grant access to your Azure VM. To find it, go to app registrations on Azure, click on the application you want to link, and then go to certificates and secrets. Now create a new secret or use an existing one, making sure to use the secret value and not ID.
Certificate Path : (Optional if the access key is not defined) This is the file path to the Azure certificate. If you don't have a certificate already, go to the App Services Certificates page and click "Create App Service Certificate."
Certificate Password : (Optional if the access key is not defined) This is the password for the Azure certificate.
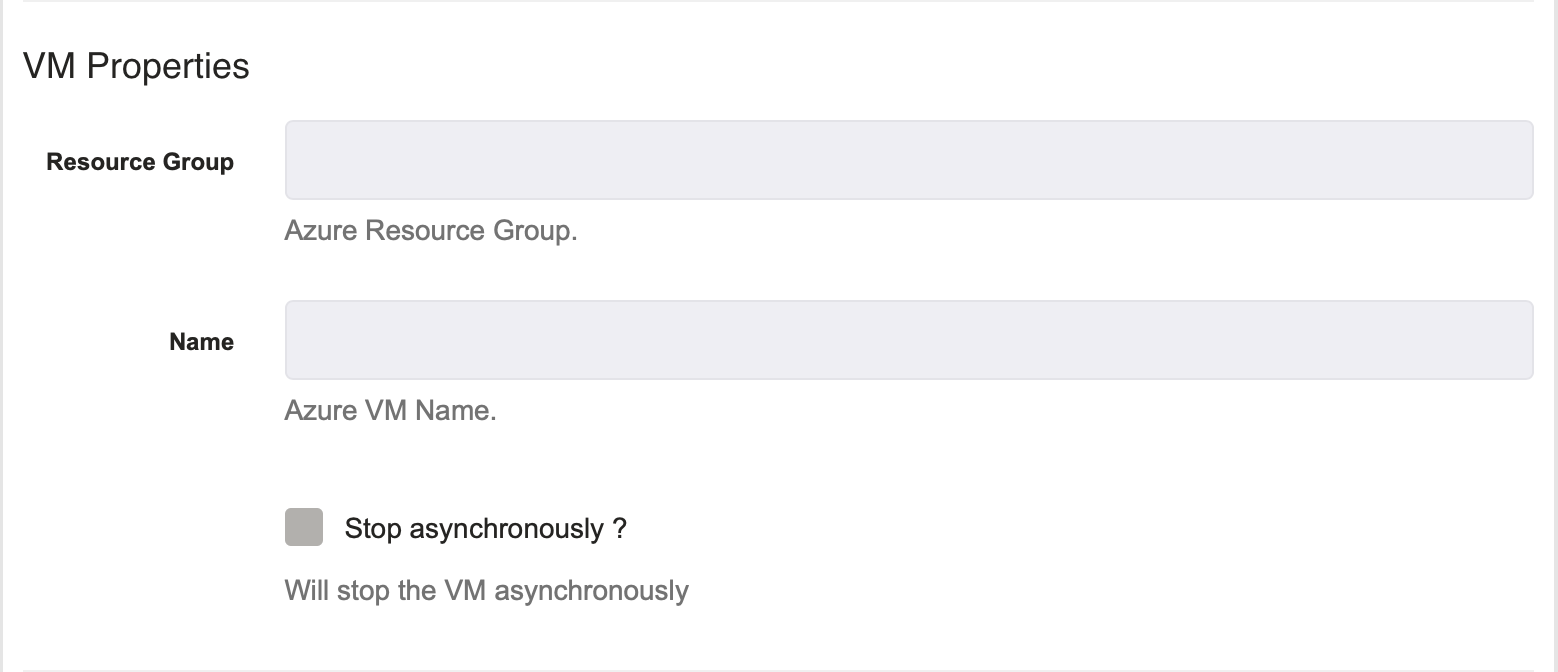
Resource Group : This is the resource group for the VMs you want listed. To see the different resource groups you have, seach for "resource groups" and navigate to that page.
Name : This is the name of the VM you wish to stop.
