Configure Oracle Cloud Infrastructure Plugins
Configure Oracle Cloud Infrastructure Plugins
Oracle Cloud Infrastructure (OCI) is a deep and broad platform of public cloud services that enables customers to build and run a wide range of applications in a scalable, secure, highly available, and high-performance environment.
-Oracle Website
Read more about Oracle Cloud here.
This How To will highlight some of the key steps to configuring the Oracle Cloud plugins included in our Runbook Automation version. The background for these steps is covered in detail on Oracle's support site here: Launching your first Linux Instance
Note: These instructions are based on the Welcome Project and provide an example of how to use the plugins in the easiest way. For full documentation and implementation please refer to the User Manual.
Pre-Requisites
This How To is based on the Runbook Automation Welcome Projects.
- Rundeck Welcome Project version 1.5
(Runbook Automation 3.4.4 is min product version) - Administrative access to an Oracle Cloud environment
- Create at least one Virtual Machine Instance and note which Zone it is created in.
Creating Service Account Keys
- Login to your Oracle Cloud Console at oracle.com/cloud/sign-in.html.
- Navigate to your User Profile by clicking on the icon in the upper right and selecting
User SettingsOracle User Profile Menu - Choose API Keys from the menu.
- Click Add API Key.
- Select Generate API Key Pair and Download the Private Key prior to clicking the Add button.
- Copy and Paste the Configuration File Preview content somewhere for use in future steps.
Configuring Rundeck
- Login to Rundeck as
admin. - Open the Welcome to Rundeck project entry.
- Open the Key Storage entry from the Project Settings menu.
- Select the
oracle-key.pemand click Overwrite Key. - In the dropdown select Upload File and choose the
oracle-key.pemfile from the earlier steps. - Click Save
- Open the Welcome to Rundeck project.
- Open Project Settings > Edit Nodes.
- Click on the Sources tab.
- Click Edit on the Oracle Cloud / Resource Model
- Enter the Tenant ID
- Enter the User ID
- Enter the Fingerprint
- Enter the Region value where your nodes will be gathered from.
- Open System Menu (gear icon) > System Configuration.
- Using the filter at the top enter
oracleto list only the Oracle Plugin Configurations. - Enter the Tenant ID
- Enter the User ID
- Enter the Fingerprint
- Enter a Zone that can be used by default. Job Steps can override the zone at each step or dynamically per node on Node Steps.
- Click Save
- Open the Welcome to Rundeck project.
- Click on Health Checks
- Click on Configure
- Click on Edit on the Oracle Cloud / Instance Healthcheck Plugin
- Enter the Tenant ID
- Enter the User ID
- Enter the Fingerprint
- Enter the Region value where your nodes are gathered from.
Confirming oracle Plugins are working
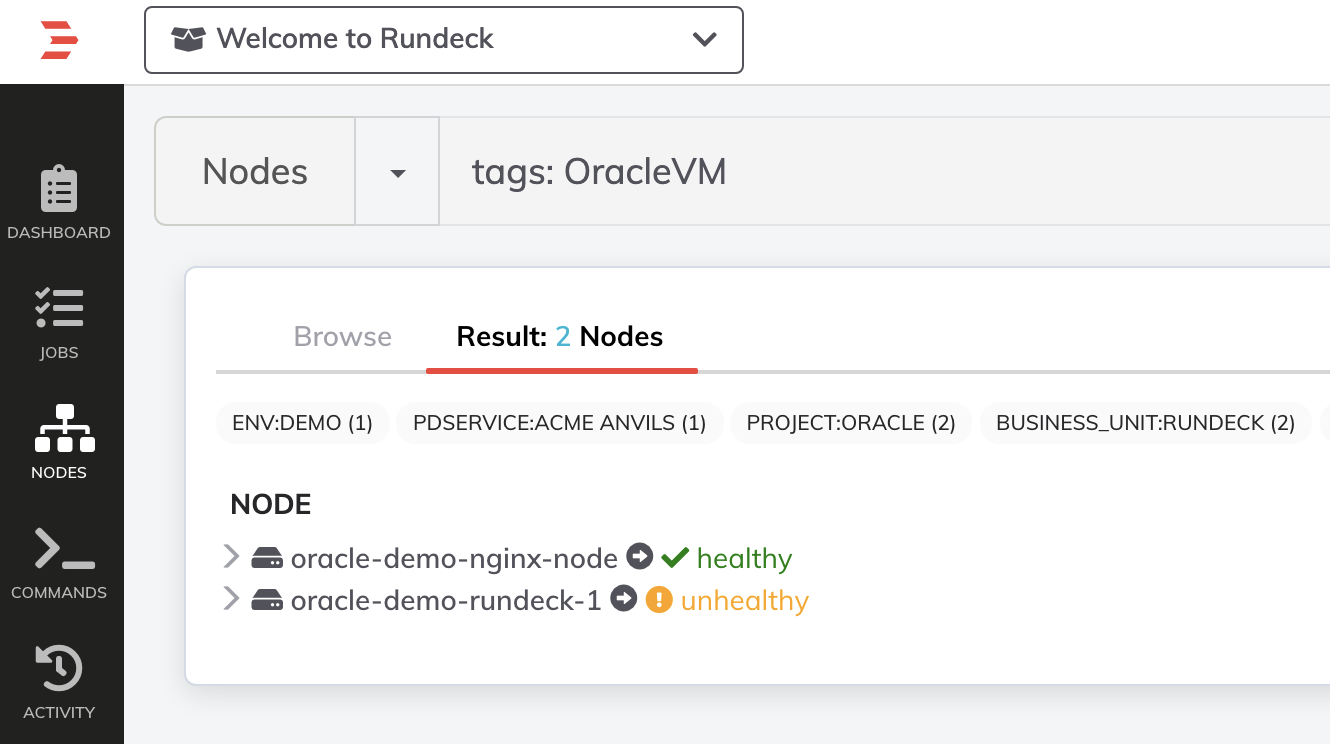
Nodes
- Navigate to the Nodes section in the Welcome to Rundeck project.
- Search for nodes using
tags: OracleVM.
If your Node Source is configured correctly and there are VMs in the configured zone they will be listed in the Nodes list.
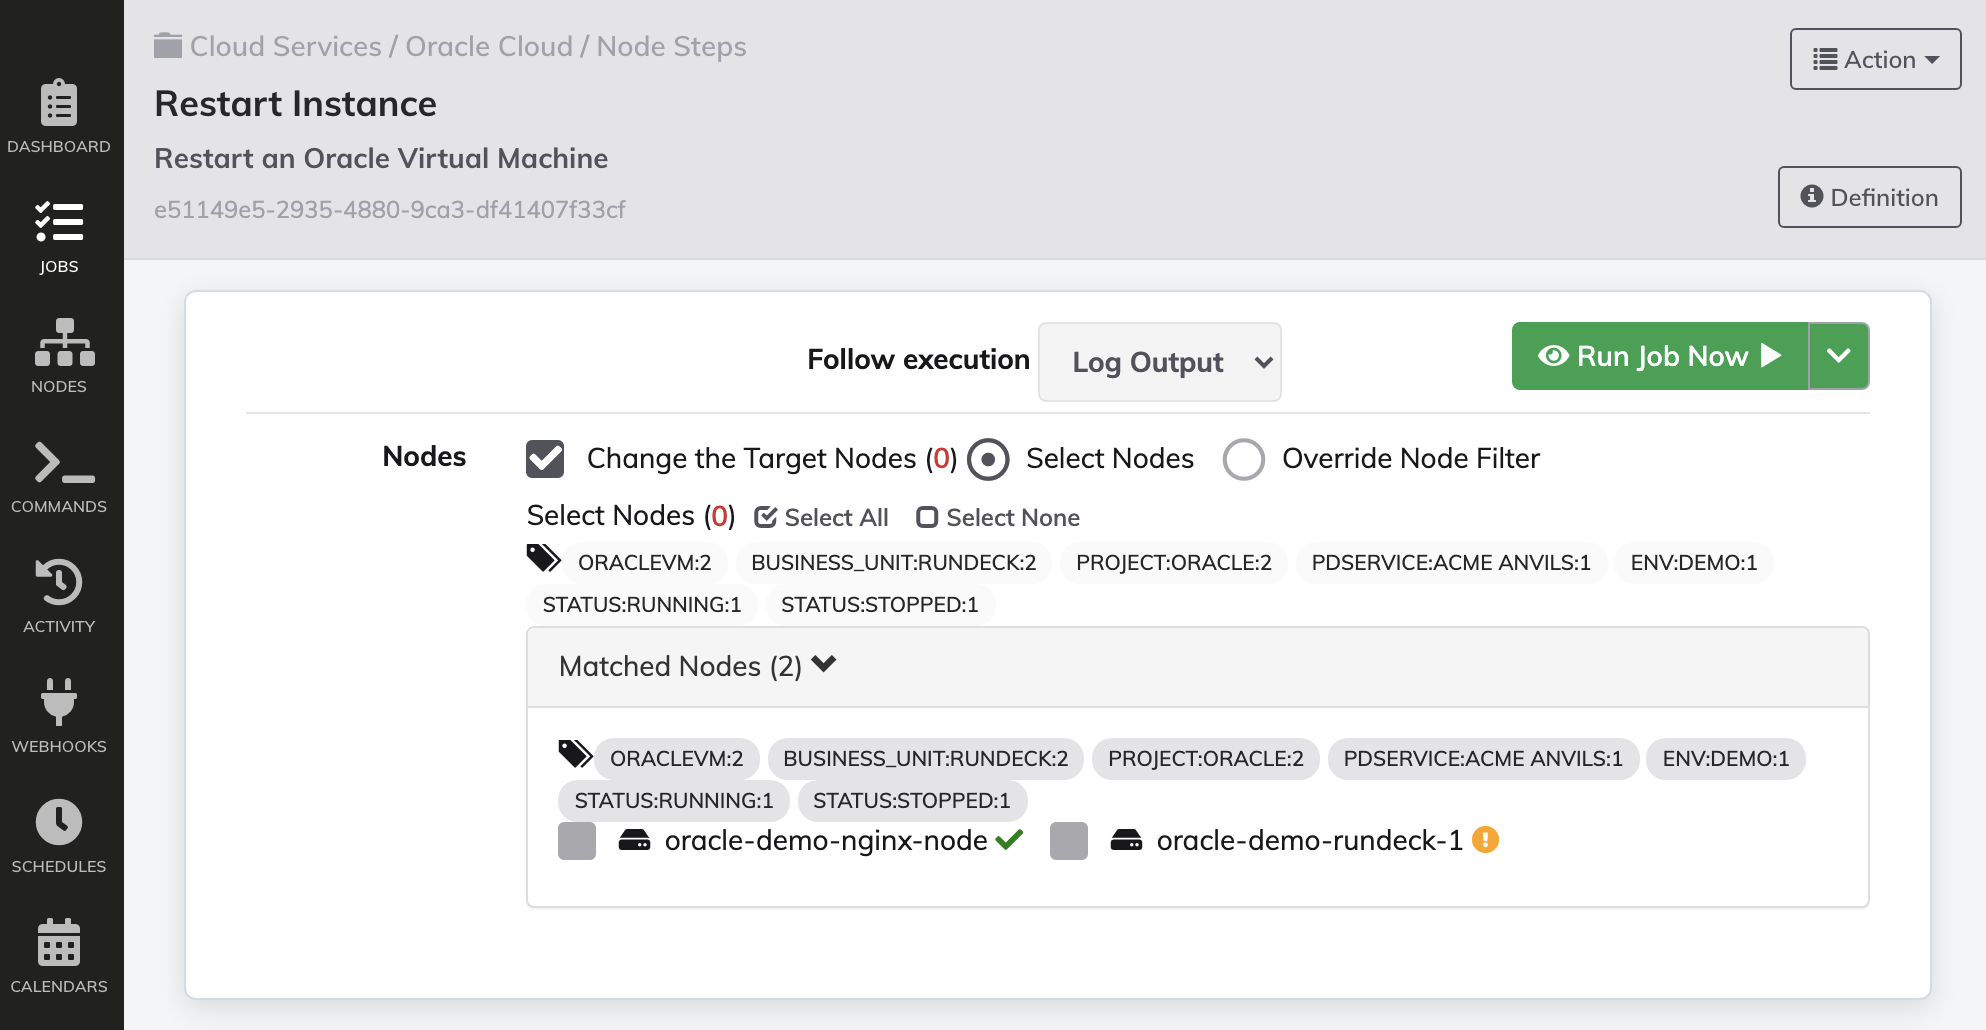
Job Steps
After confirming Nodes are being listed choose one that can safely be restarted. Choose wisely
- Navigate to the Jobs section in the Welcome to Rundeck project.
- Open Cloud Services > Oracle Cloud > Node Steps > and choose Restart Instance.
- Select the node to be restarted and click Run Job Now.