# 1. Getting Started - Nodes
This tutorial is based on example code in the Welcome Projects.
A Node is a resource that is either a physical or virtual instance of a network accessible host. Nodes have a few basic attributes, but a Node's attributes can be extended to include arbitrary named key/value pairs. Attributes typically describe the properties of a node or reflect the state of the node. (e.g. OSVersion: Ubuntu 18.04). Tags can also be assigned to a node for easy searching (e.g. prod or dev).
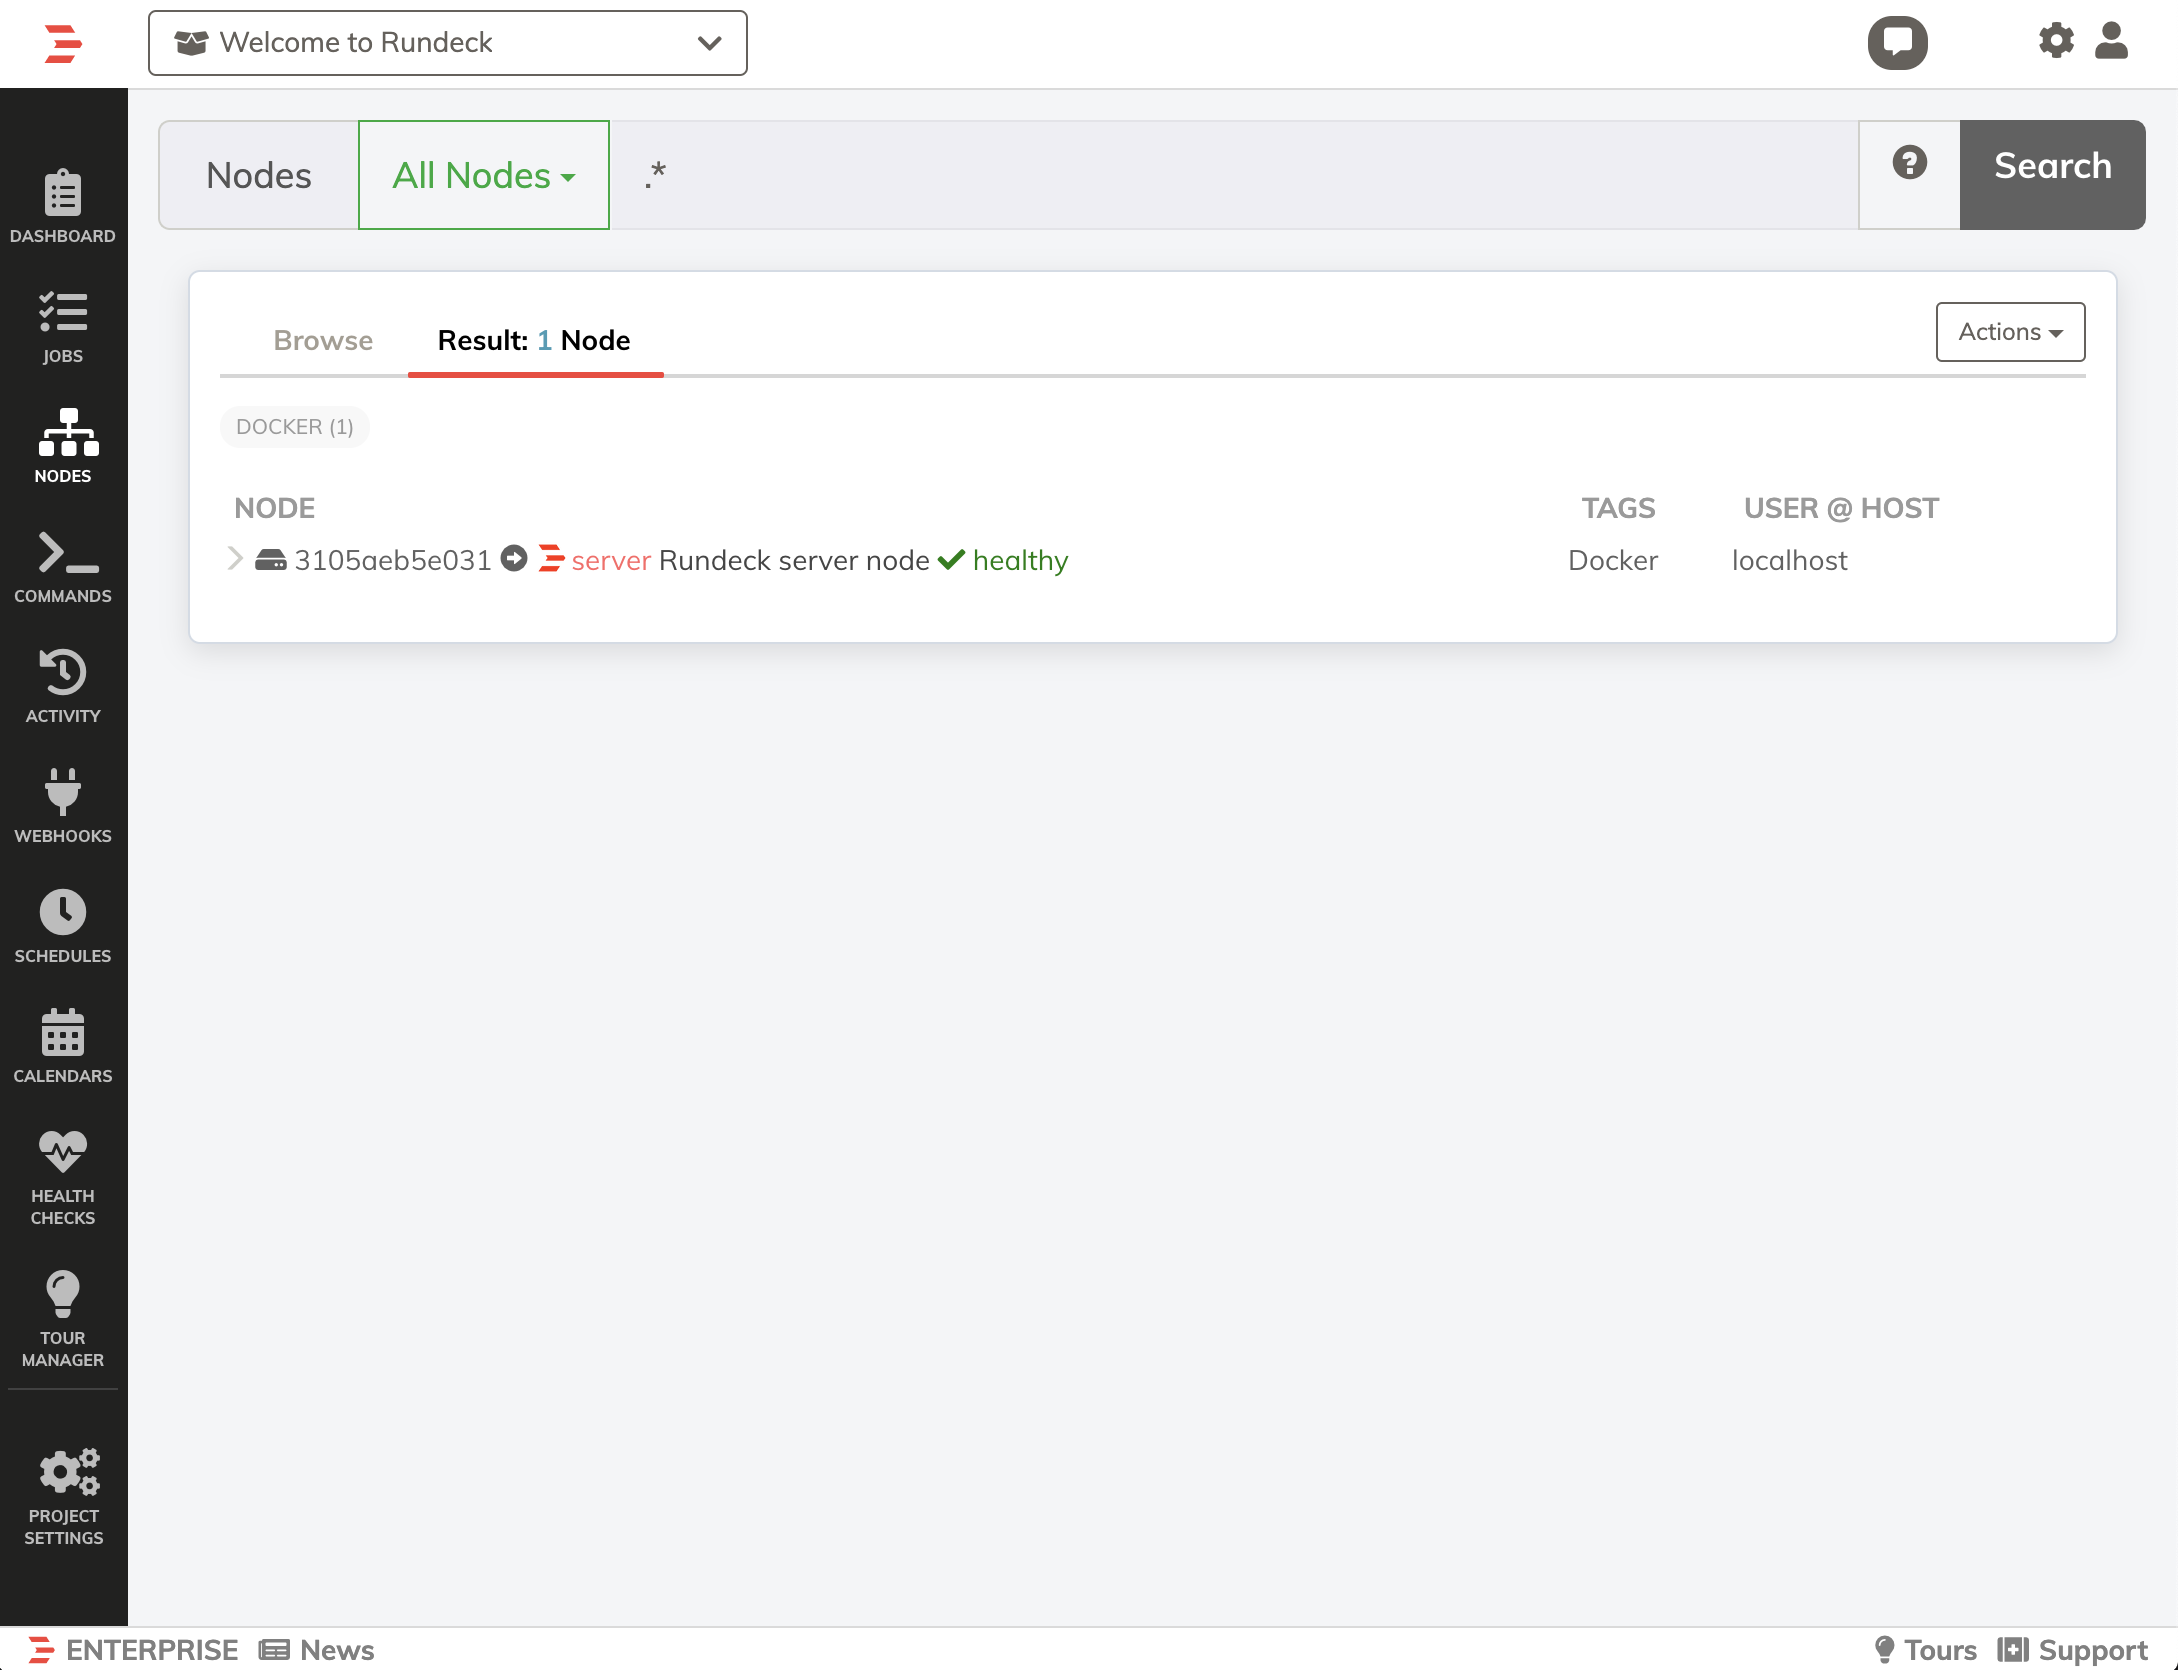
If this is the first run through of the tutorial there will be a single node in your Welcome Project (the Rundeck Server).
# Enterprise/Community Exercise
- Click the
>next to the server node to see additional attributes of that node. - Clicking attribute values will dynamically filter the nodes based on that value.
# Adding Nodes
# Node Sources
There are multiple ways to add Nodes to Rundeck. Using the Node Wizard Resource Model is the simplest way to add a node to the project.
# Checking your Nodes
- Click the Nodes entry in the Project Menu
- Enter
.*in the filter and click Search.
(if the node doesn't show up right away wait a few seconds and try again)
Next let’s test our nodes using an ad-hoc Command.